


Interacting with the Ethereum platform is getting easier by the day! Especially with applications like Parity, an Ethereum client that s integrated directly into your web browser. Not only does it allow the user to access the basic Ether and token wallet functions, it it is also an Ethereum GUI browser that provides access to all the features of the Ethereum network including dApps.
Parity is a full node wallet, which means that you store the blockchain on your computer. The wallet is available for Ubuntu, OSX, Docker and Windows.
Today, we're going to show you how to install and use the Parity wallet to store, receive and send Ether and tokens. The Parity wallet also allows you to interact with dApps. We will cover this part very soon in a future guide. Stay tuned!
Part 1 - Download and Install
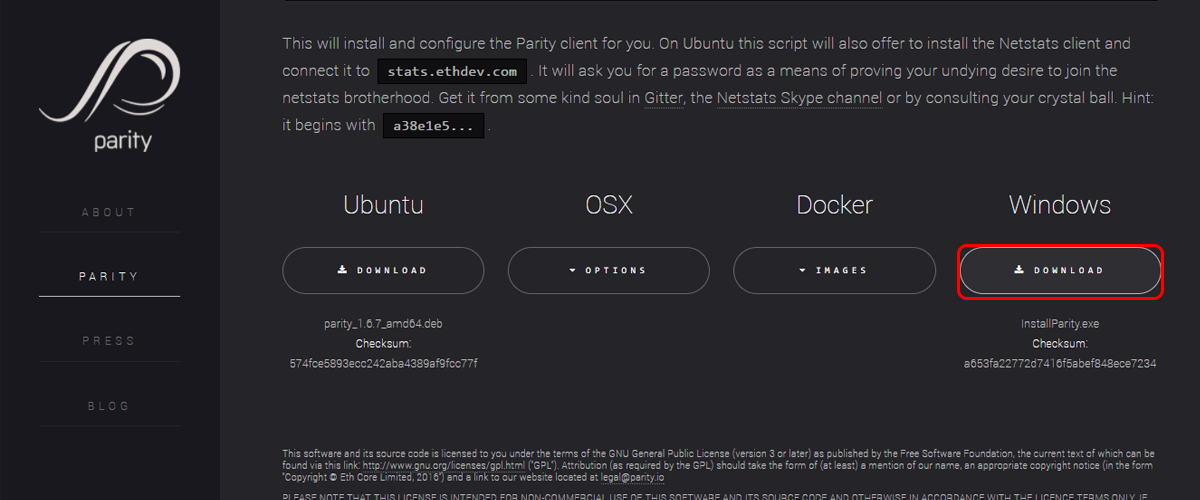
Step 1: Click here to go to the Parity download page
Step 2: Scroll down, choose your O.S and download. We’re using Windows
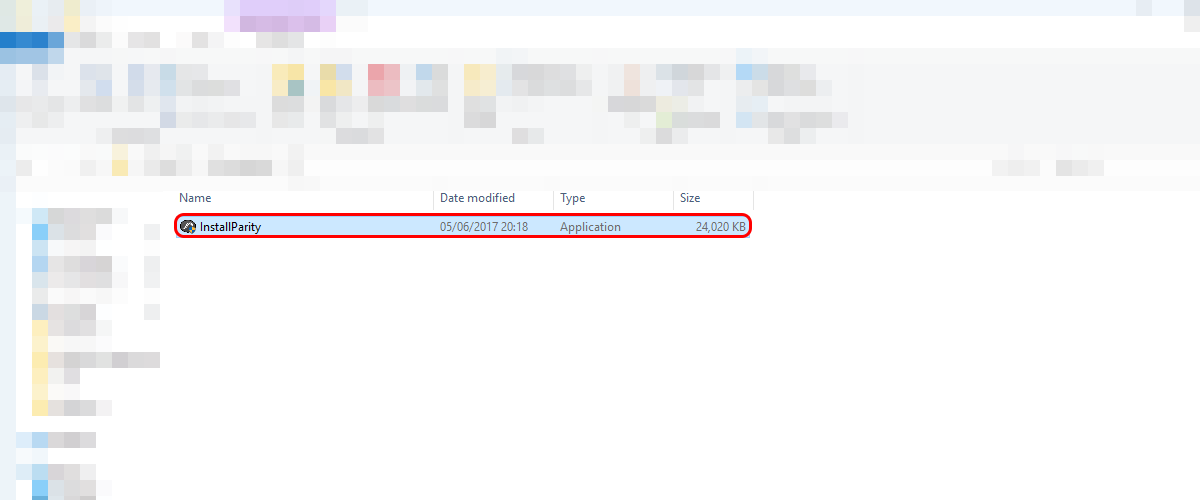
Step 3: Double-click the downloaded setup
Step 4: Agree to the terms

Step 5: Click “Install”

Step 6: Wait for the setup to conclude

Step 7: Click “Close” to finish the installation

Parity should open in your browser automatically. You can always open it by searching for “parity” on your windows toolbar.
Part 2 - Create a wallet
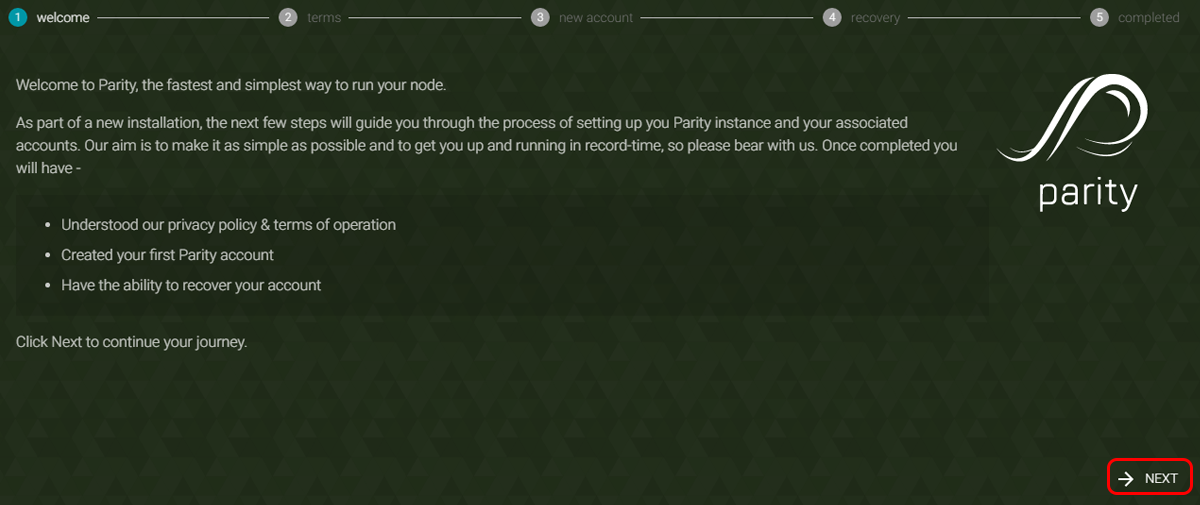
Step 1: Read the intro and click "Next"
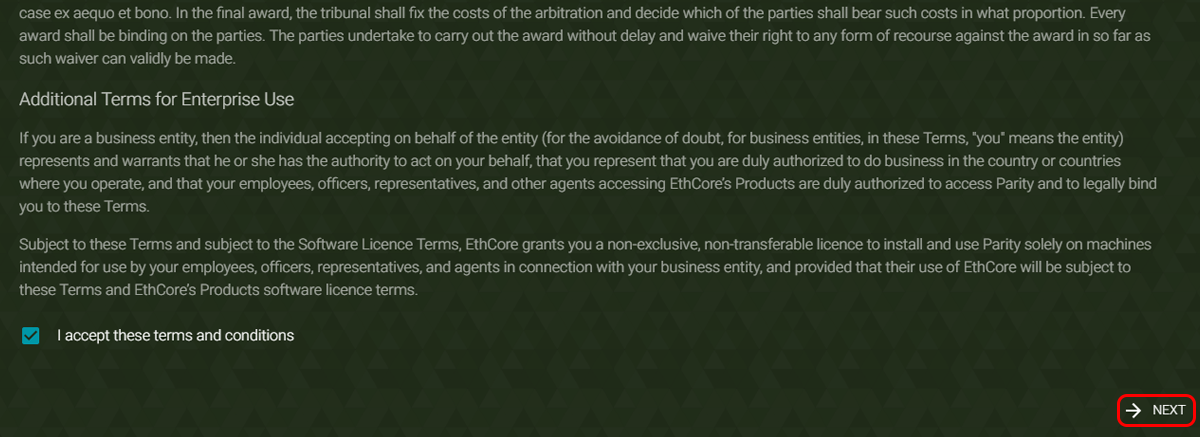
Step 2: Read the terms, tick the "I accept these terms and conditions" box and click "Next"
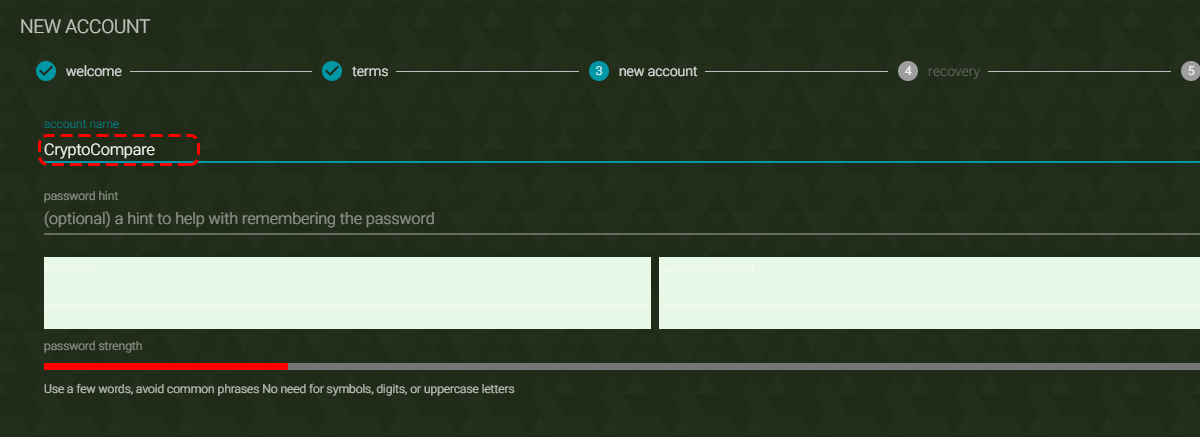
Step 3: Choose a wallet name
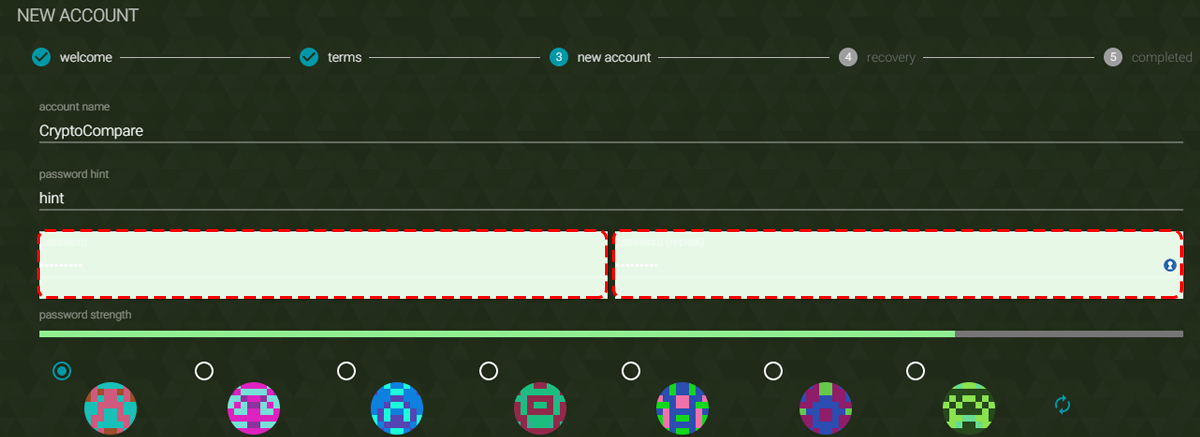
Step 4: Enter and repeat your password. Optionally, you can also include a hint above the password field
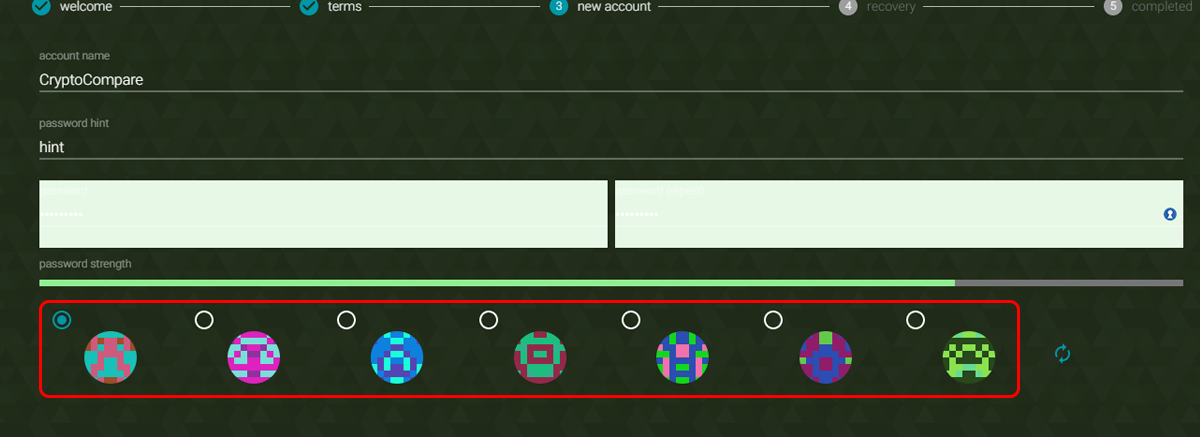
Step 5: Choose an avatar
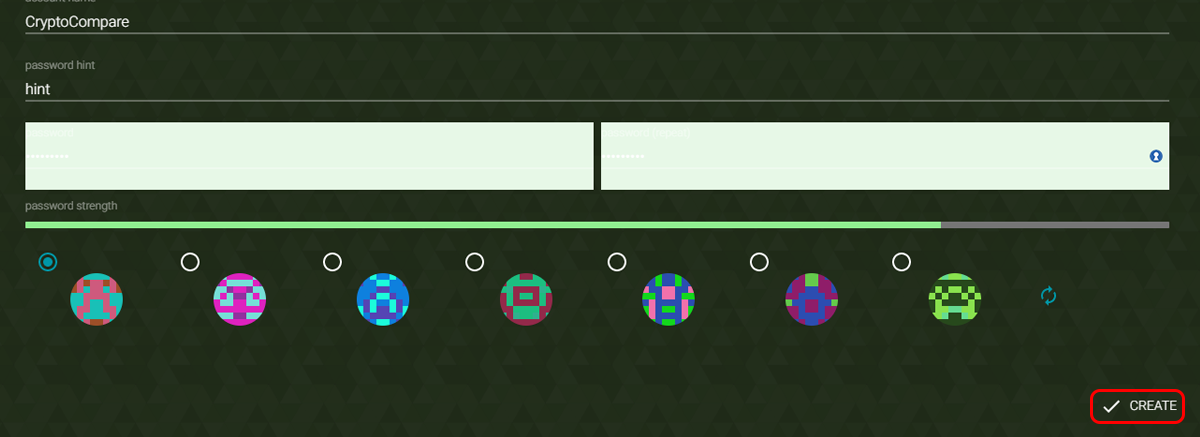
Step 6: Click “Create”
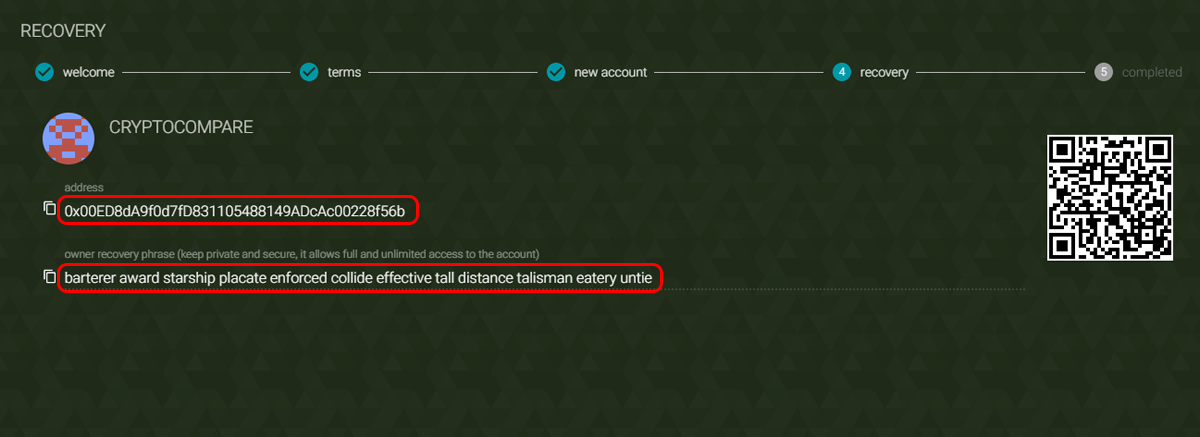
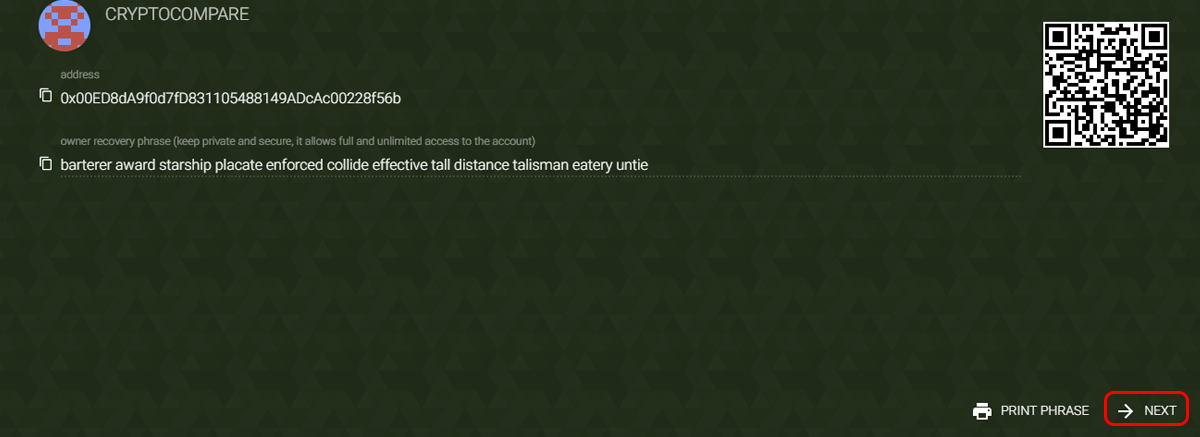
Step 7: Save both the public address, where you will receive payments and your seed which is needed to restore your wallet. You can also print the seed in the lower right corner
Step 8: Click “Next”
Step 9: Click “Close” to go to your wallet

Part 3 - Restore a wallet
Once your account has been created, you’ll be taken to the Parity dashboard. Before we go on, we want to show you how to restore a previous wallet you may have created with another app like MyEtherWallet or Mist.
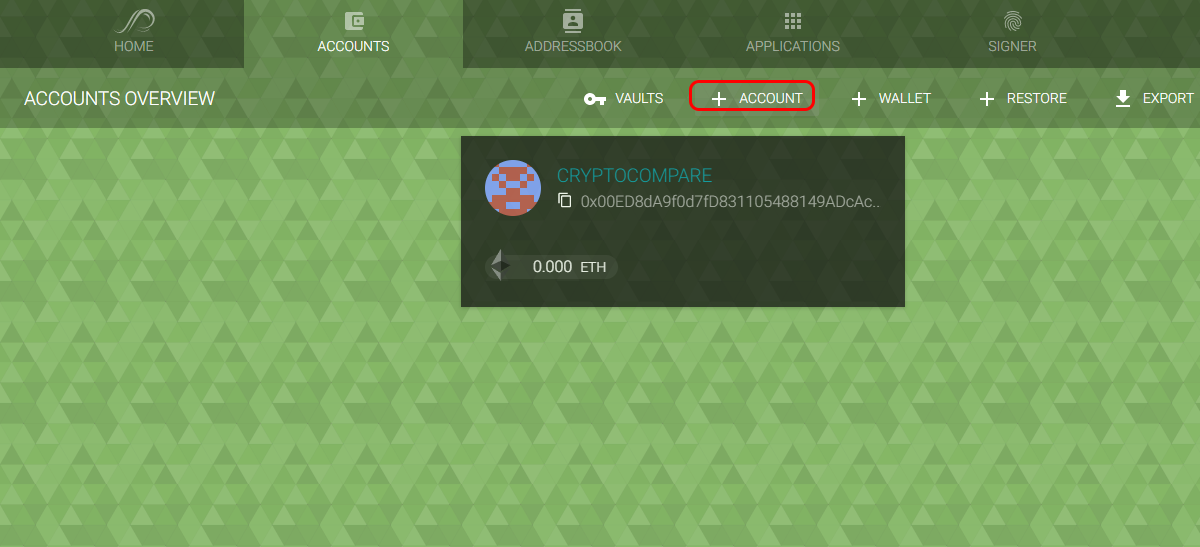
Step 1: Click “Accounts”

Step 2: Click “+ Account”
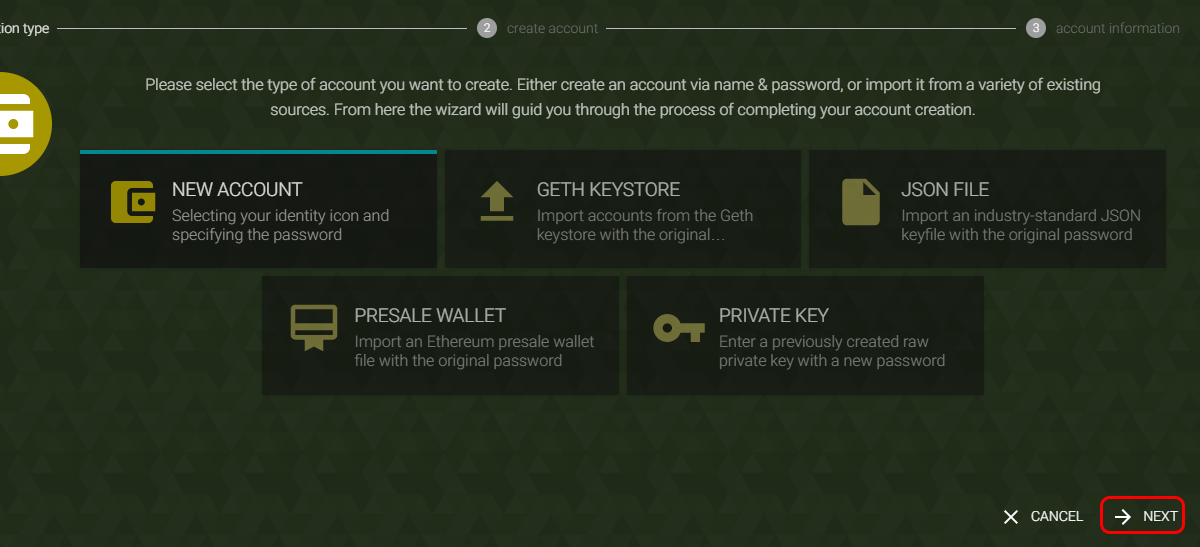
Step 3: Now, you have to choose from the options available. You can import accounts from the Geth keystore folder, you can upload a JSON file private key, you can also import an Ethereum presale wallet or enter the raw private key. Choose whichever fits best and click "Next" and follow the instructions
Part 4 - Receive and send ETH and tokens
Step 1: Click “Accounts”

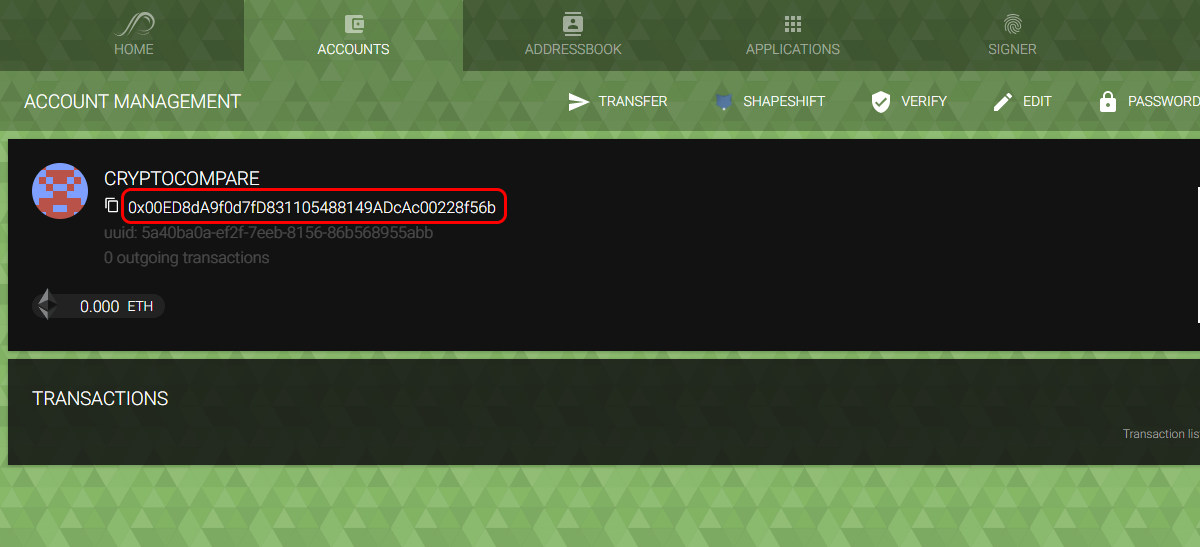
Step 2: Choose an account
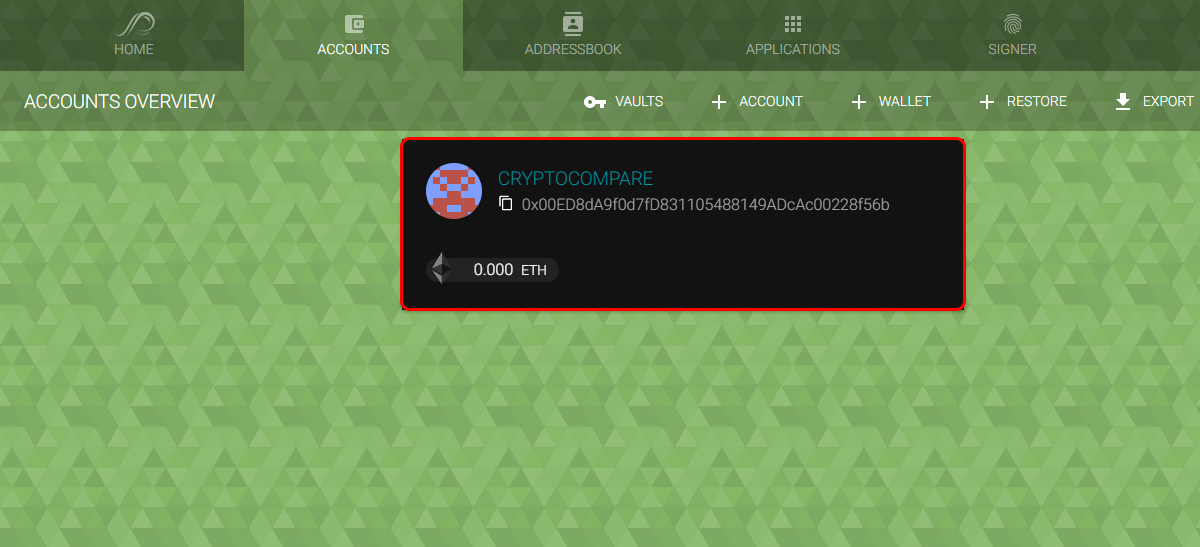
Step 3: To receive Ether, simply send ETH to the address shown or give it to the sender
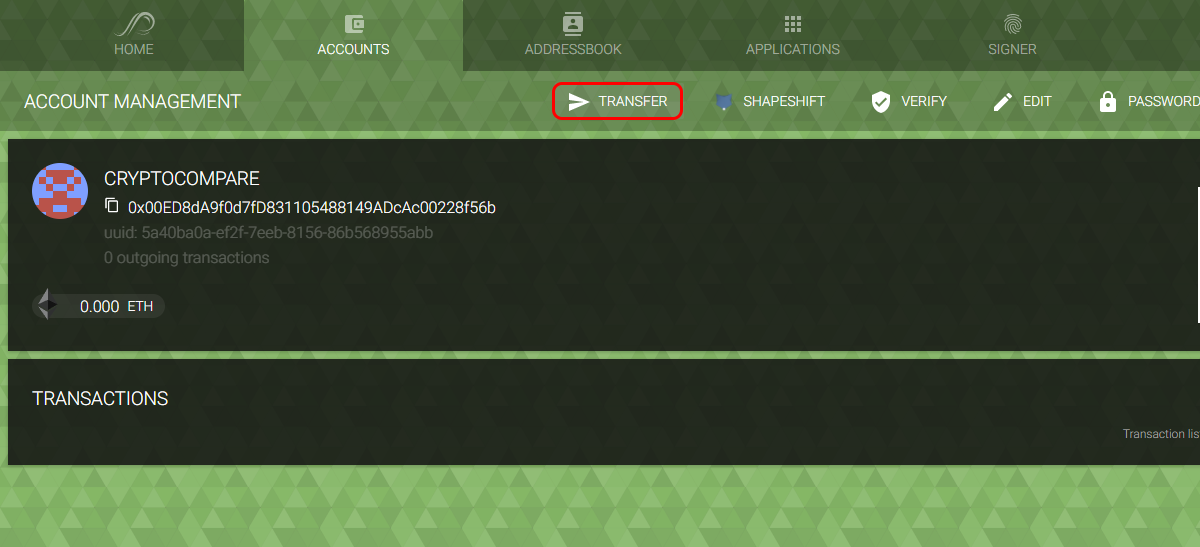
Step 4: If you want to send Ether, click “Transfer”
Step 5: Select the token you want to send. You can choose between Ether and any other Ethereum-based token
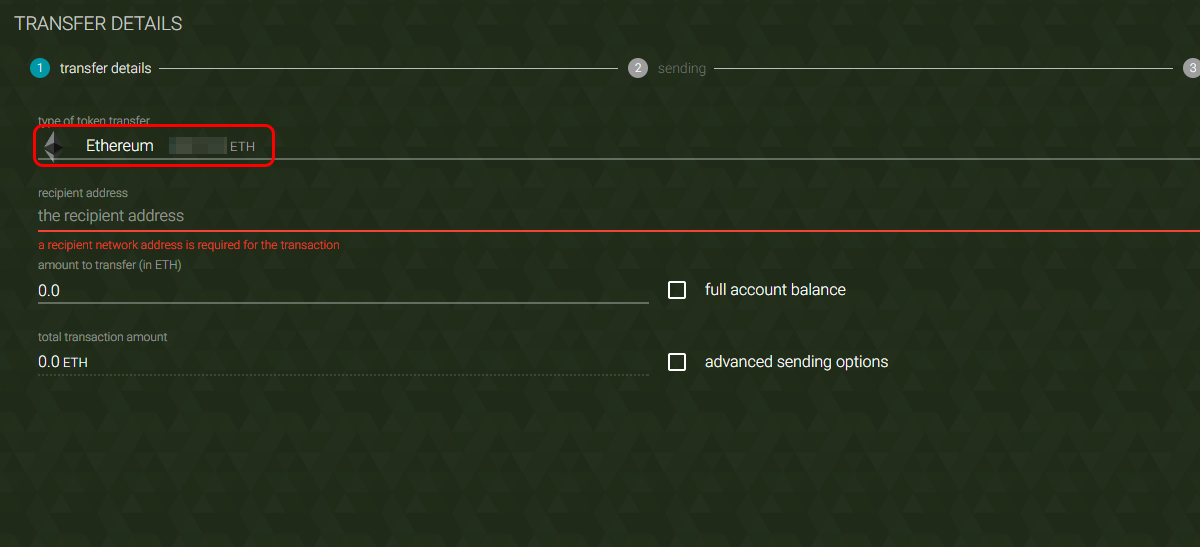
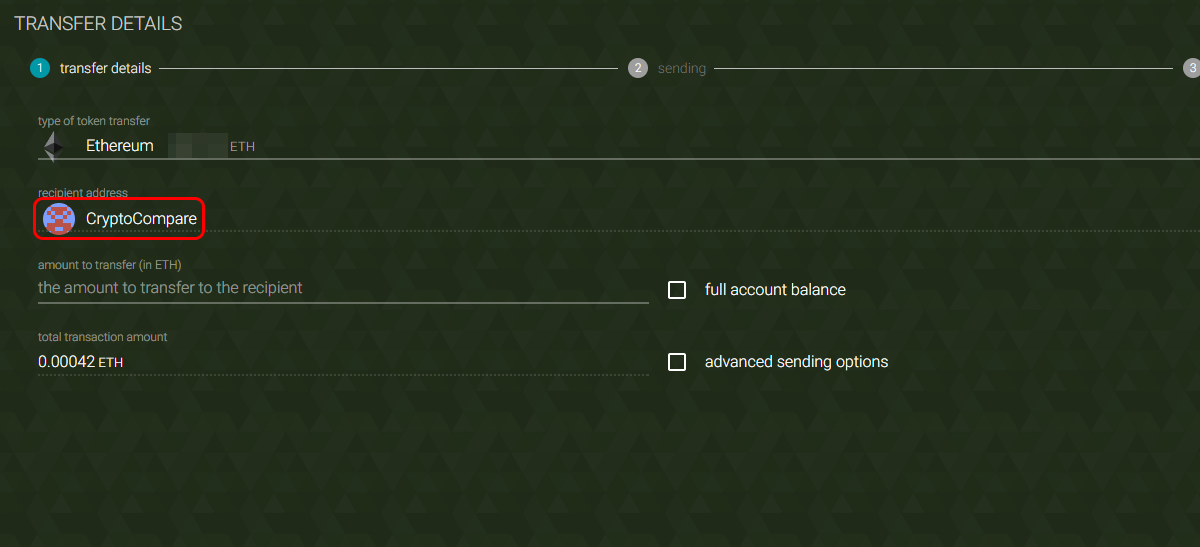
Step 6: Enter the recipient address. When you click this field, you can type the address but your address book will pop up. You can add and remove addresses from the address on the "addressbook" section
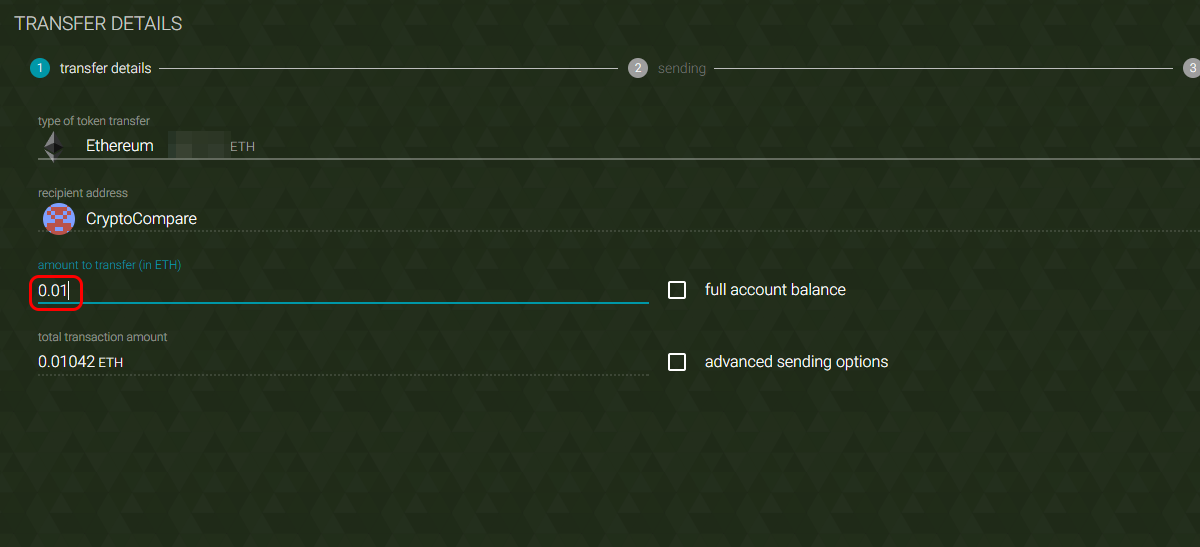
Step 7: Enter the amount of Ether you want to send
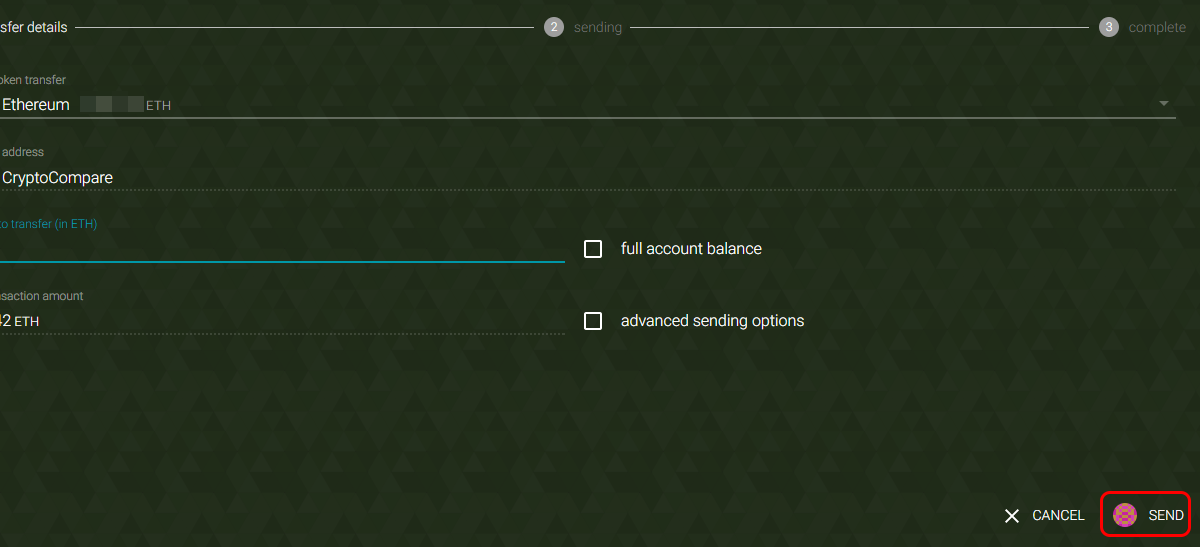
Step 8: Click “Send”
Step 9: Enter your password and click “Confirm Request”
The Parity wallet also allows you to interact with dApps. We will cover this part very soon in a future guide. Stay tuned!
Important information
This website is only provided for your general information and is not intended to be relied upon by you in making any investment decisions. You should always combine multiple sources of information and analysis before making an investment and seek independent expert financial advice.
Where we list or describe different products and services, we try to give you the information you need to help you compare them and choose the right product or service for you. We may also have tips and more information to help you compare providers.
Some providers pay us for advertisements or promotions on our website or in emails we may send you. Any commercial agreement we have in place with a provider does not affect how we describe them or their products and services. Sponsored companies are clearly labelled.


 Opera
Opera
 Internet Explorer