


Monero is a privacy-driven cryptocurrency that allows users to make anonymous payments while keeping the same decentralized, immutable and trustless properties of Bitcoin. Monero does this through the use of Ring Signature technology which has earned the coin a place in the cryptocurency world.
Using Monero used to be complicated due to its command-line-only wallet. Monero has also released a great full node GUI wallet.
If you don’t want to run a full node, however, you can also use the MyMonero online wallet which was developed with the assistance of the Monero Core Team, and is managed by Riccardo "fluffypony" Spagni, a member of the Monero Core Team.
Nevertheless, you should understand that using MyMonero comes at a cost: it is extremely difficult for MyMonero to securely deliver its code to your browser. As so, MyMonero advises you to use this wallet to store small amounts only. “For long-term storage of Monero you should create a cold wallet using MoneroAddress or similar”.
Part 1 - Create a wallet
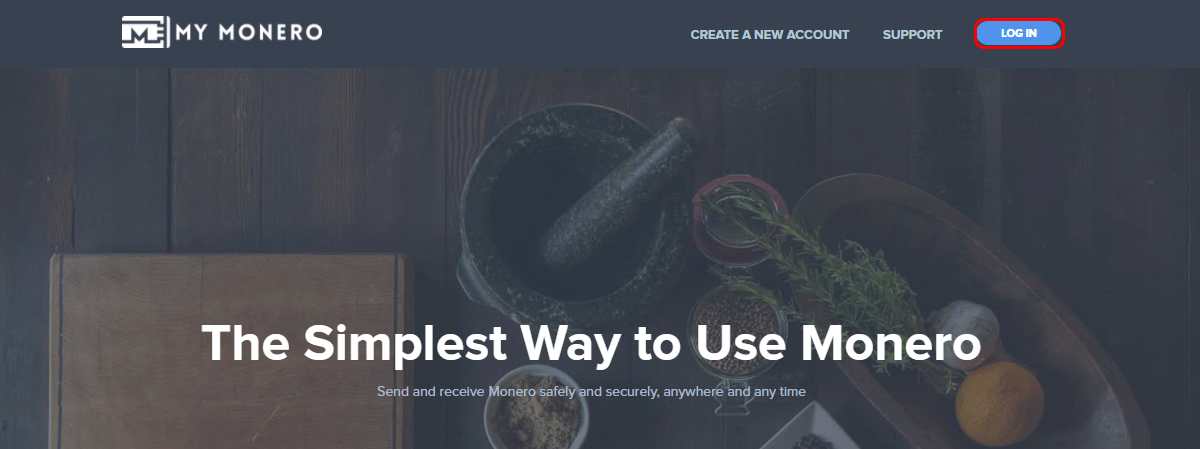
Step 1: Click here to go to MyMonero
Step 2: Click “Create an Account”

Step 3: Now, scroll down and take note of your private key. “Keeping this secure and private is very important, as it is the only way that you will be able to login to your MyMonero account.”
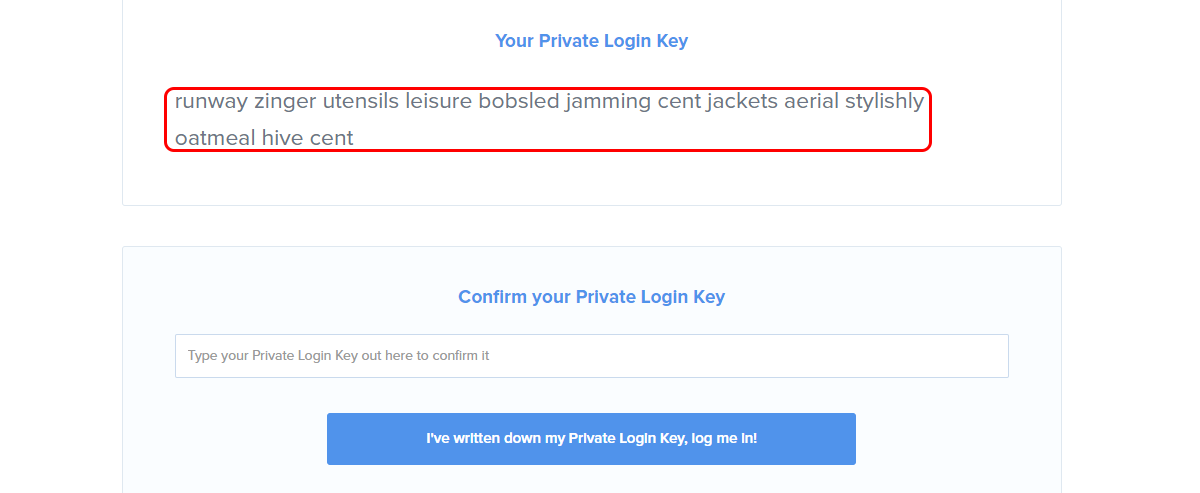
Step 4: Paste your Private Login Key
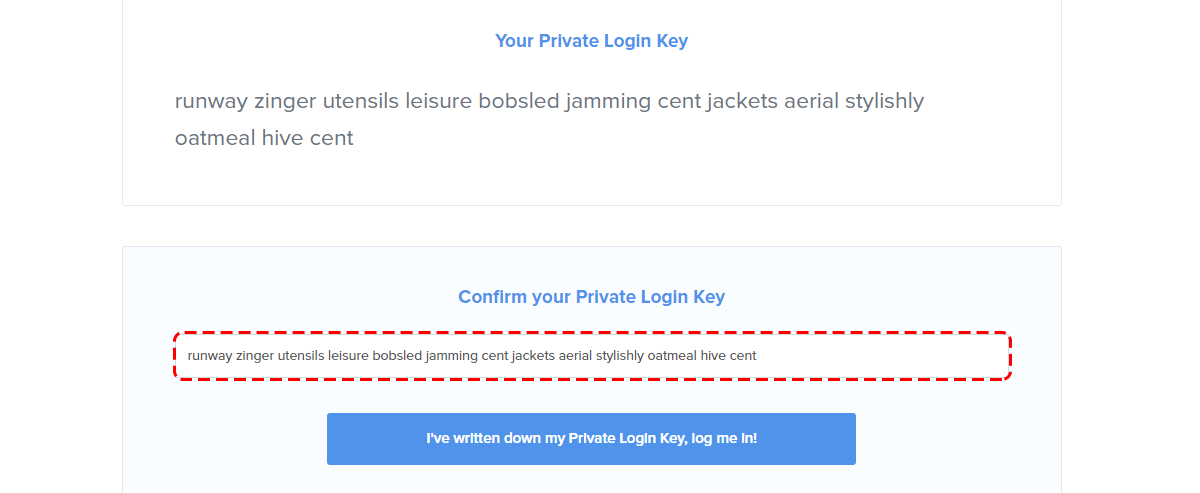
Step 5: Confirm that you have saved the private login key.
Part 2 - Login
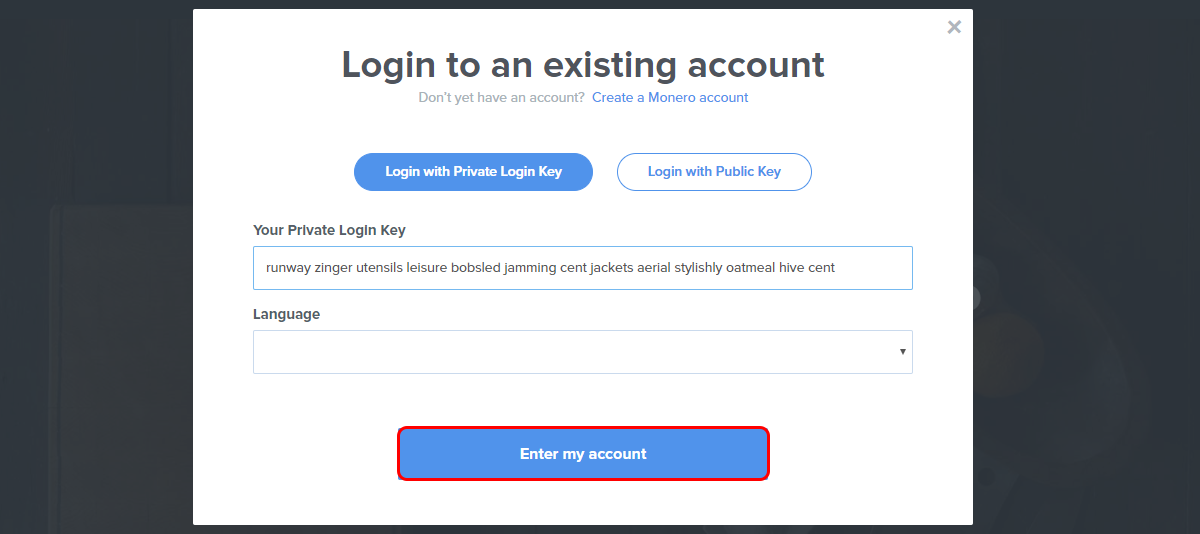
Step 1: Enter your private key to login
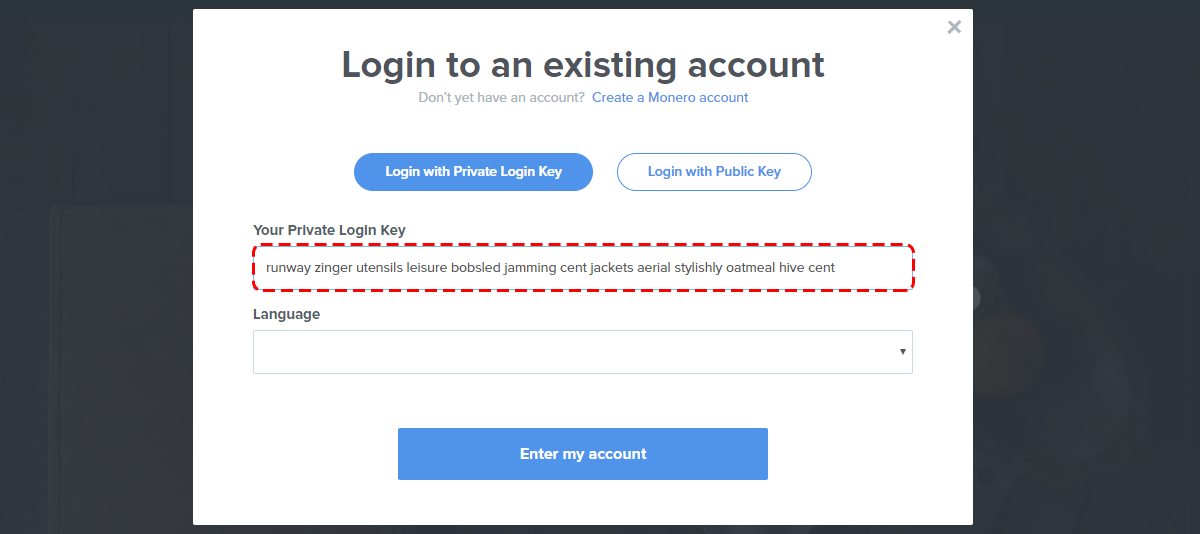
Step 2: Choose your language
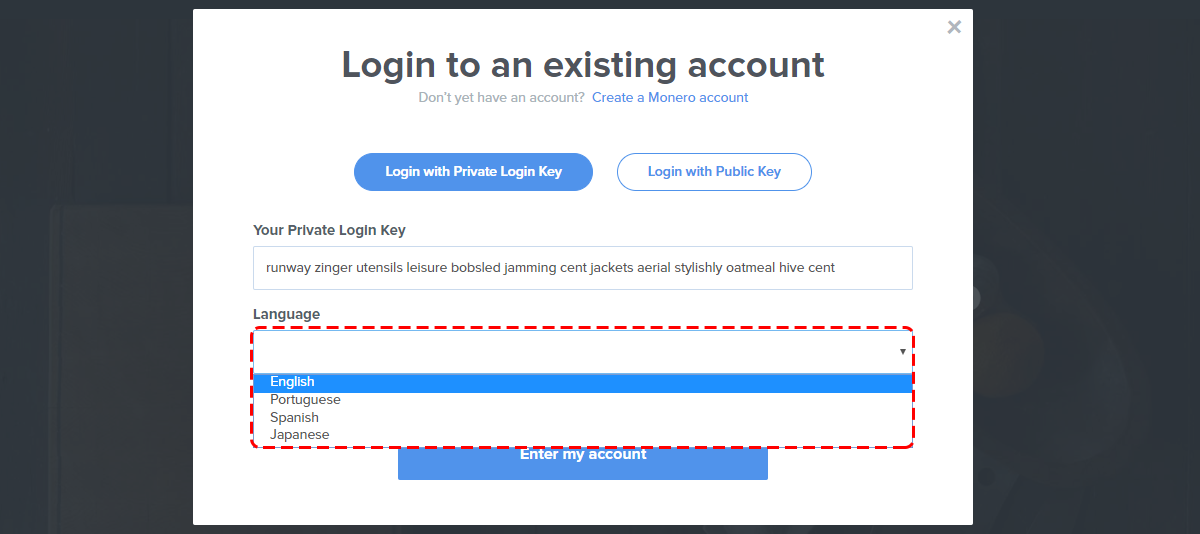
Step 3: Click “Enter my account” to log in
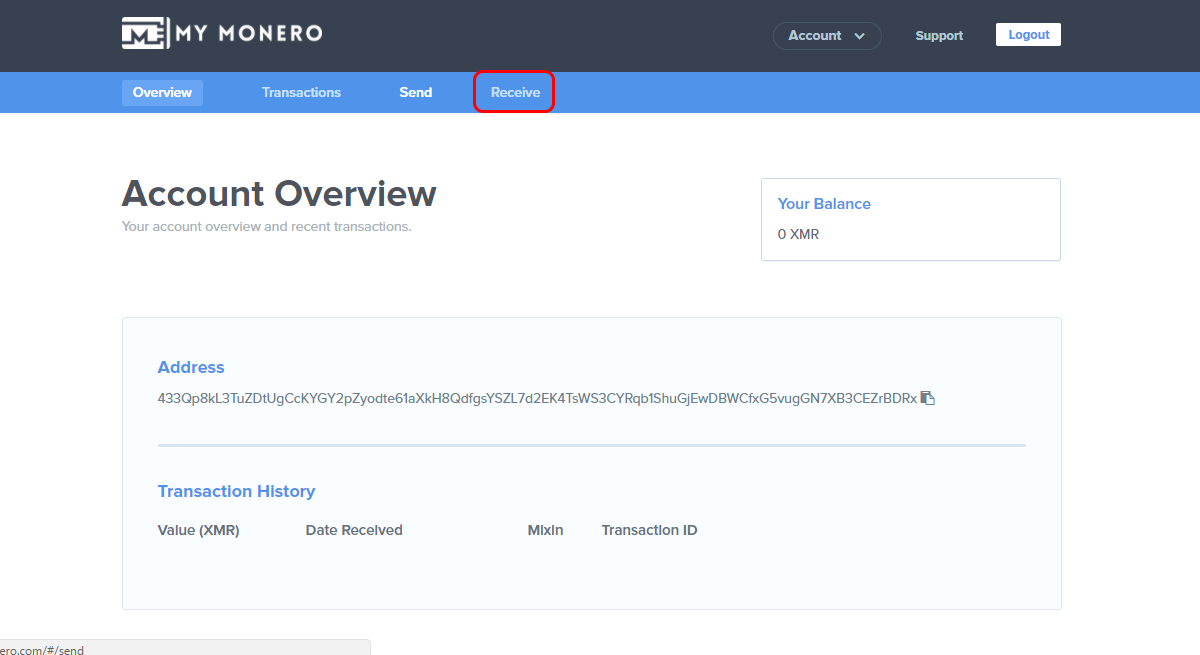
You’ll be taken to your wallet dashboard, where you can see your wallet address. You can use this address to receive Monero

Part 3 - Receive Monero
Although you can use the wallet address on the front page to receive Monero, you can track your payments more efficiently by creating using Payment ID and creating payment requests on the “Receive” tab.
The Payment ID is used to identify transactions to merchants and exchanges: Given the intrinsic privacy features built into Monero, where a single public address is usually used for incoming transactions, the Payment ID is especially useful to tie incoming payments with user accounts.
Step 1: Click “Receive”
Step 2: If you want, you can use the wallet address and payment ID and send them to the person sending you XMR. This will allow you to tie incoming payments with user accounts.
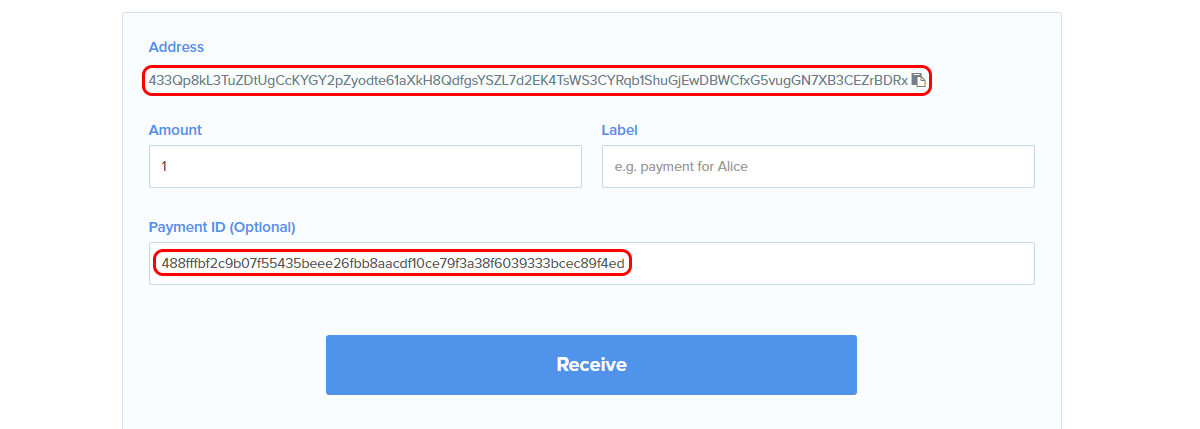
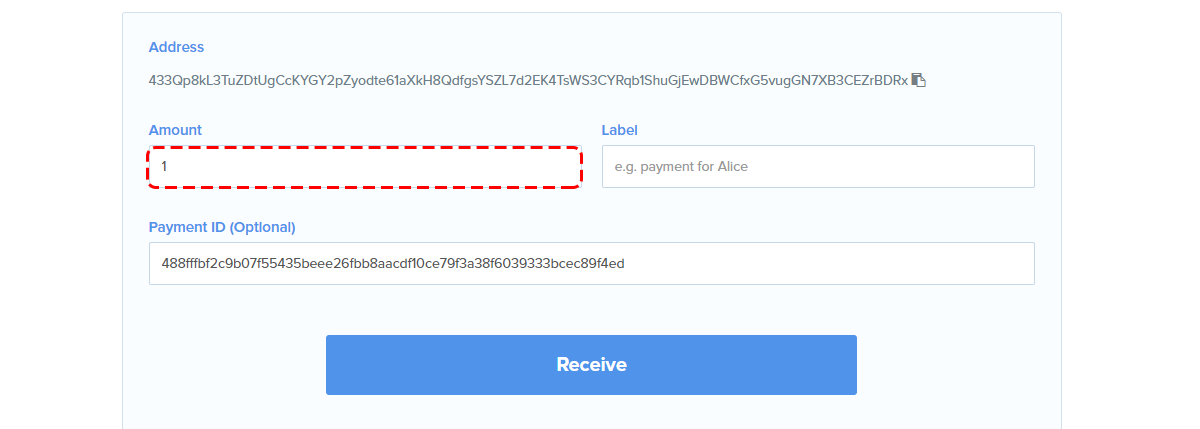
Step 3: You can also create a payment request. Start by entering the amount you’re expecting
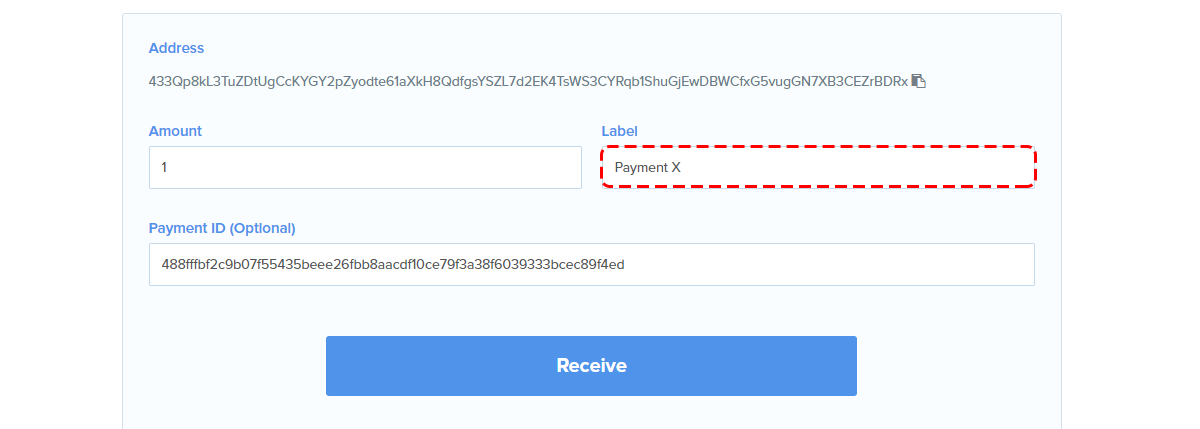
Step 4: Enter the label you want to see when checking the payment
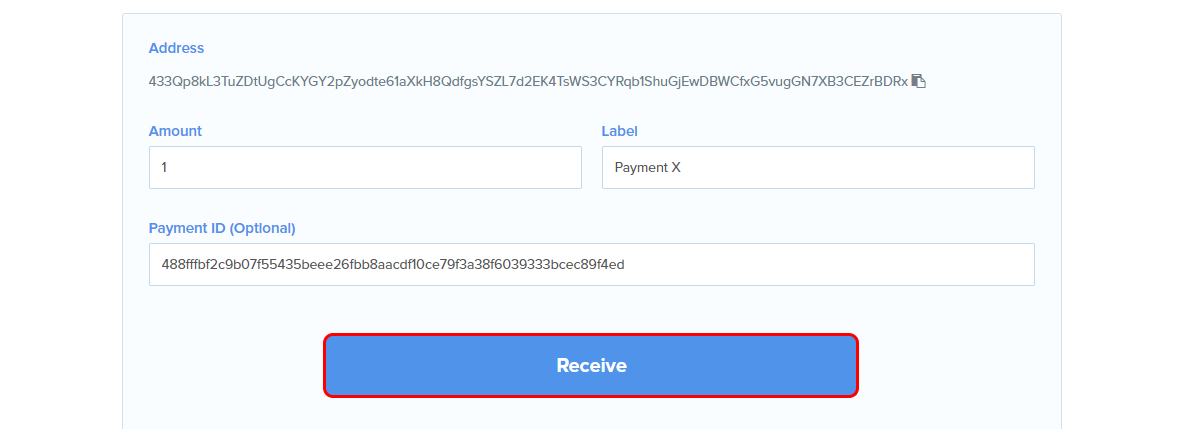
Step 5: Click “Receive”
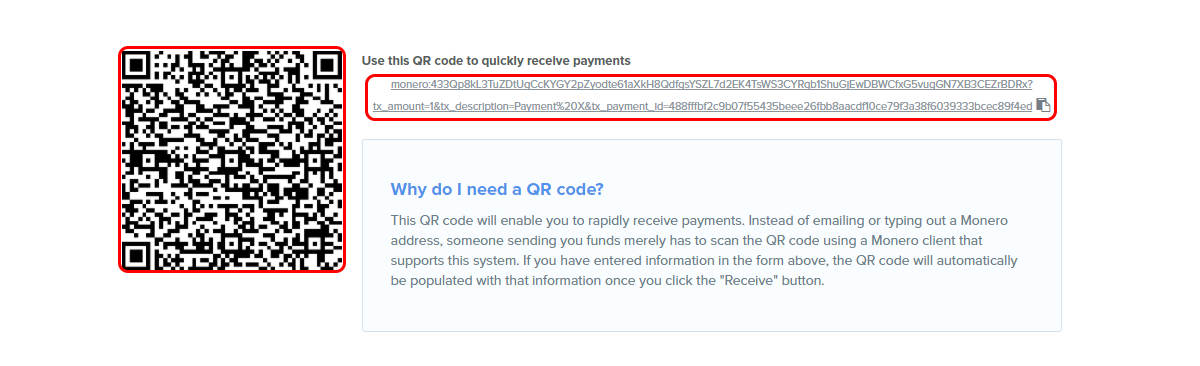
Step 6: You can now use the QR-code or the address shown to request a payment
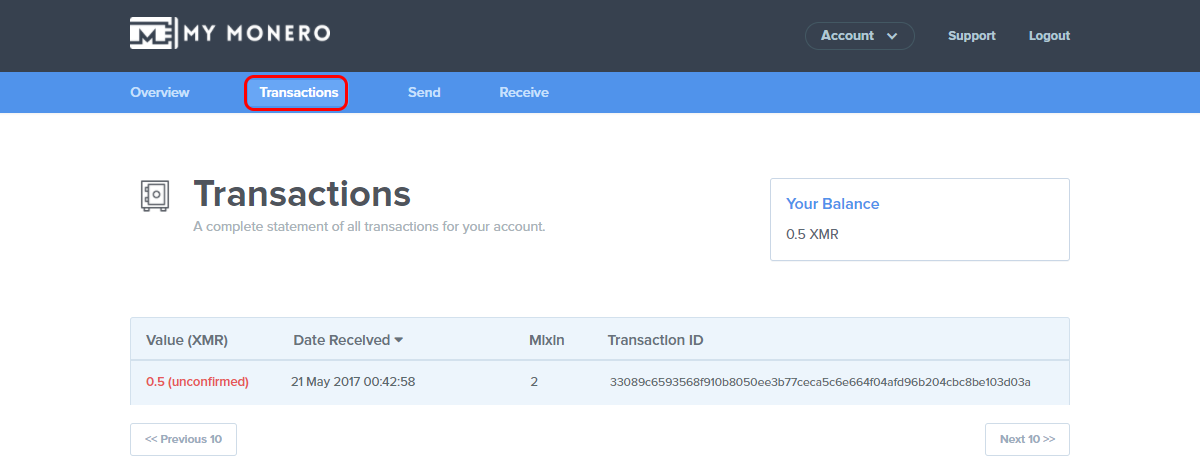
You can see the transactions received by clicking “Transactions”
Part 4 - Send Monero
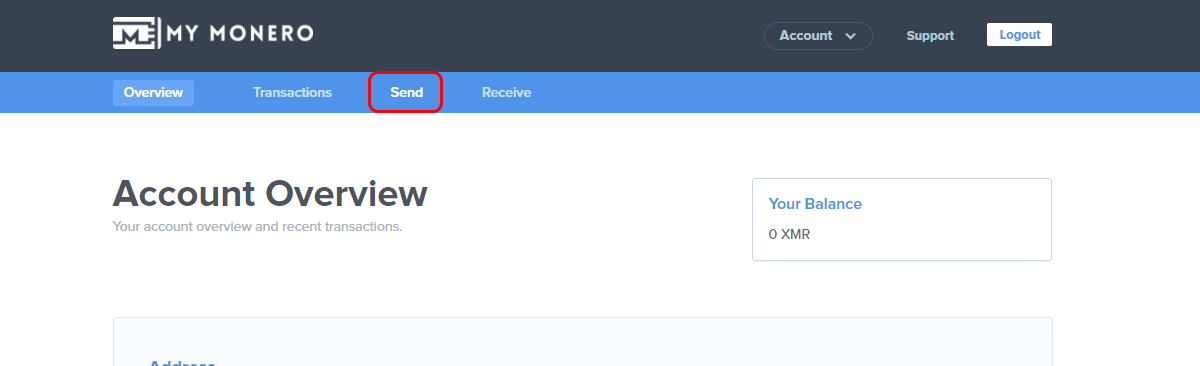
Step 1: Click “Send”
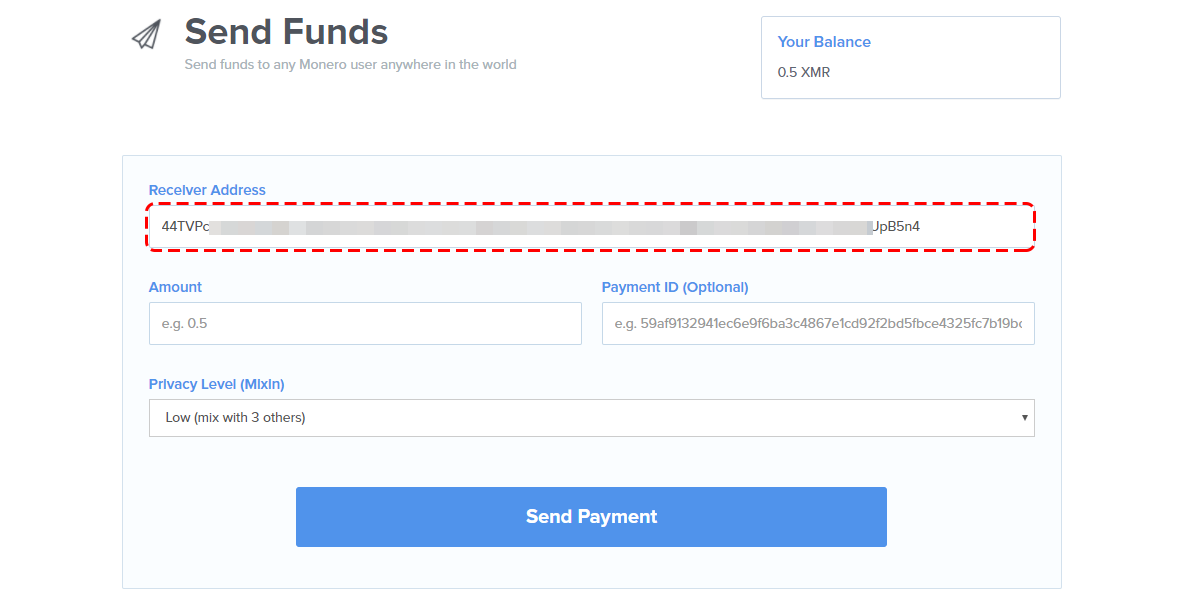
Step 2: Enter the Receiver Address
Step 3: Enter the amount you want to send

Step 4: Enter the Payment ID (Optional)
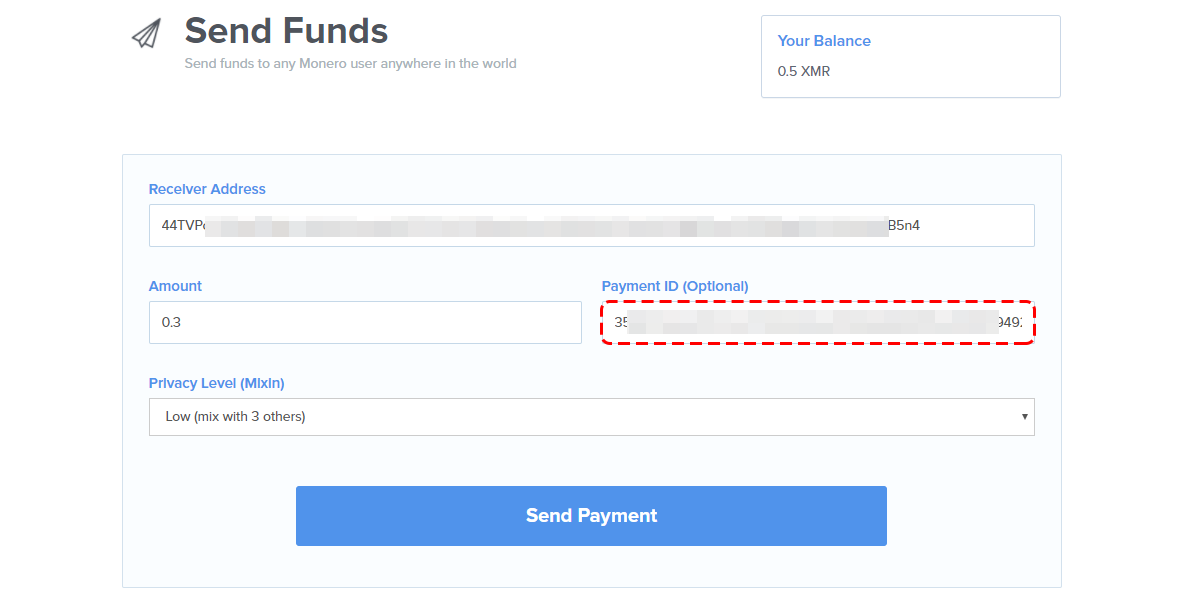
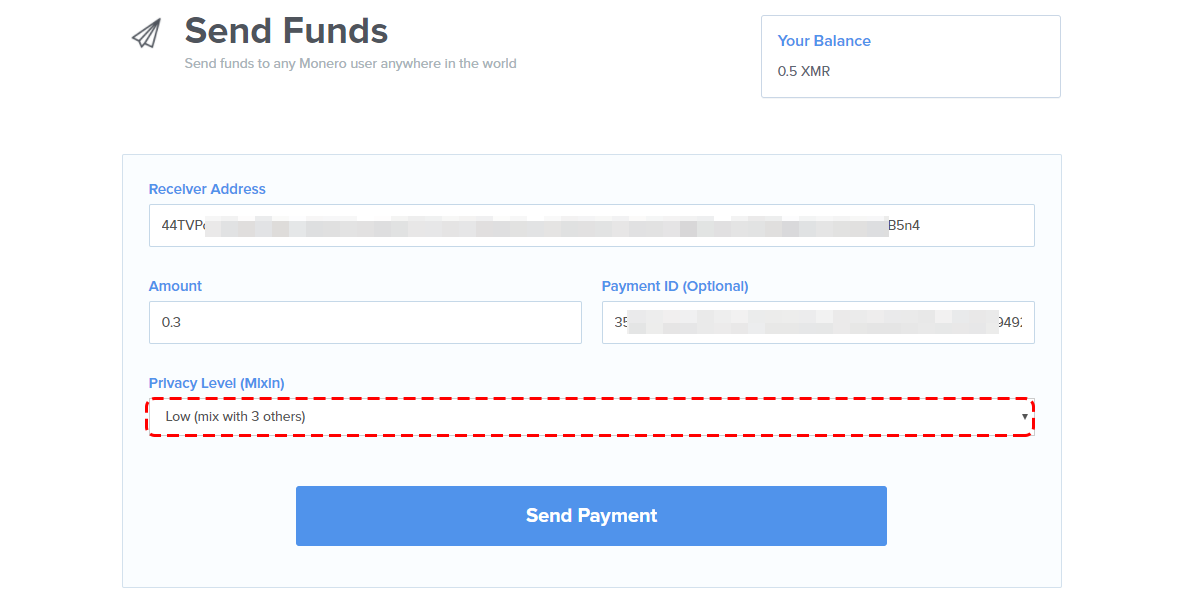
Step 5: Choose the amount of privacy you want though the Mixing level
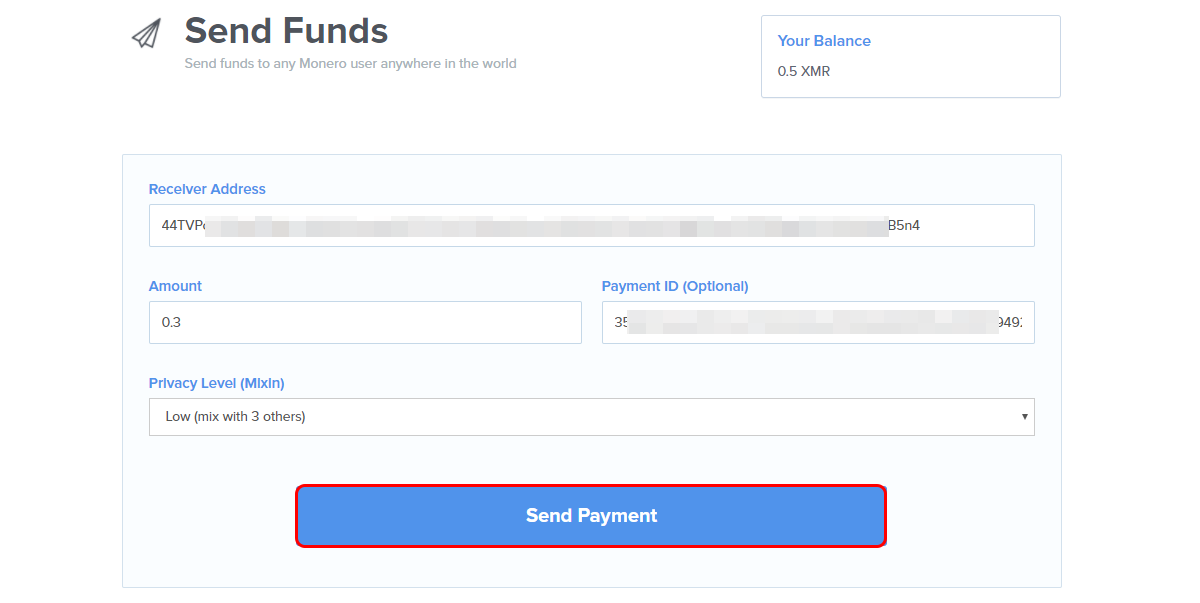
Step 6: Click "Send Payment"
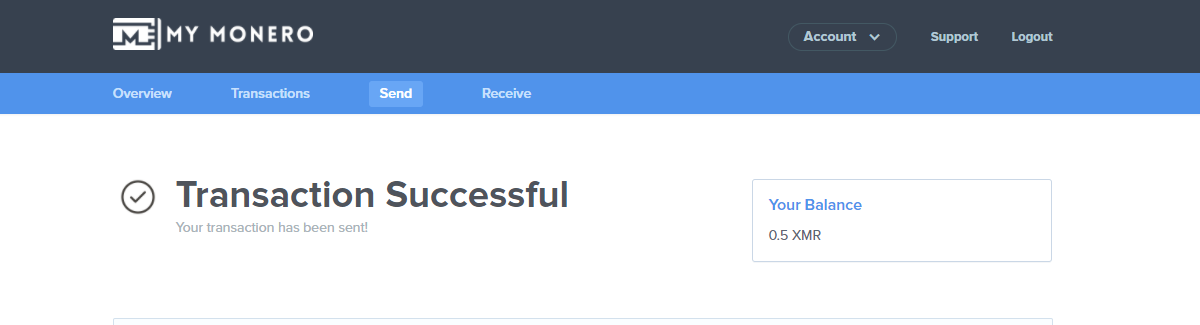
If the transaction is successful, you'll see this:
Important information
This website is only provided for your general information and is not intended to be relied upon by you in making any investment decisions. You should always combine multiple sources of information and analysis before making an investment and seek independent expert financial advice.
Where we list or describe different products and services, we try to give you the information you need to help you compare them and choose the right product or service for you. We may also have tips and more information to help you compare providers.
Some providers pay us for advertisements or promotions on our website or in emails we may send you. Any commercial agreement we have in place with a provider does not affect how we describe them or their products and services. Sponsored companies are clearly labelled.


 Opera
Opera
 Internet Explorer