


How to use MetaMask
MetaMask is more than just an Ether wallet. It's an Ethereum Browser, like Mist! It allows you all the same functions, features and ease of access from regular Ethereum Wallets, and it allows you to interact with Dapps and Smart Contracts, and all without the need to download the blockchain or install any software, you can just install it as a Google Chrome Extension! Plus, it has a cool fox logo that follows your mouse around, which made us smile. So, let's get started with MetaMask!
Part 1 - Installing MetaMask
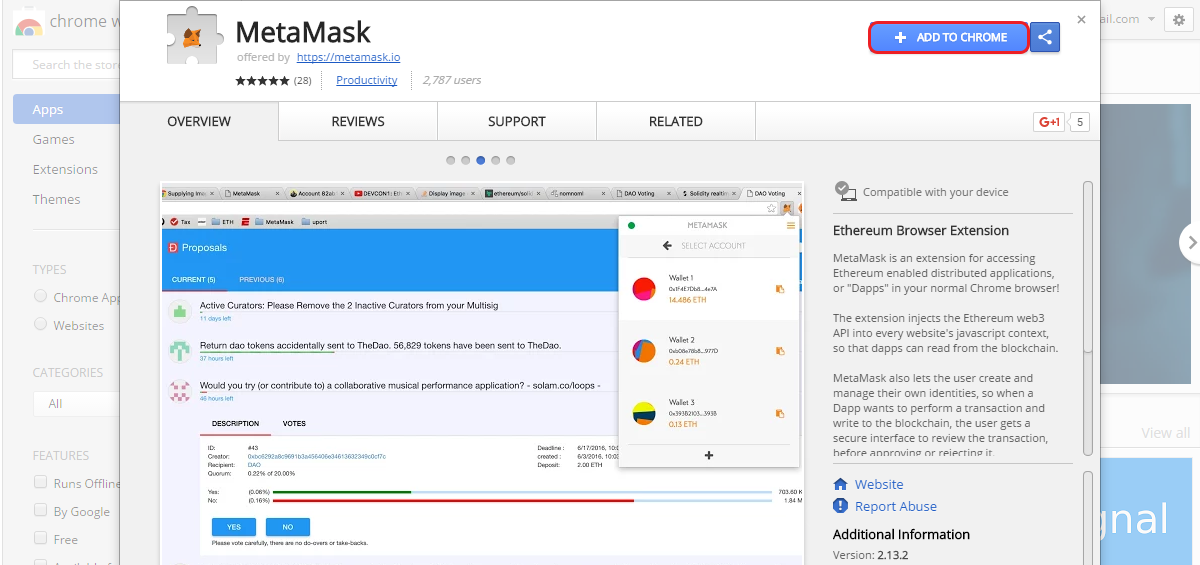
Step 1: Click here to go to the Chrome Webstore and get the MetaMask plugin
Step 2: Click "Add to Chrome" to Install MetaMask as Google Chrome extension.
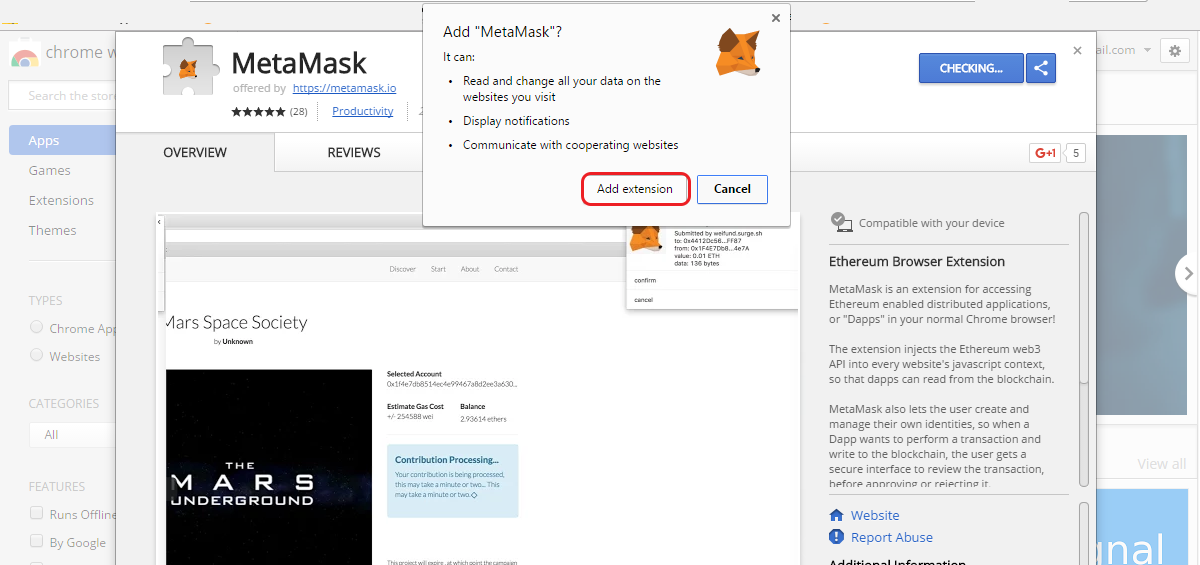
Step 3: Click "Add Extension" to confirm and MetaMask will be added
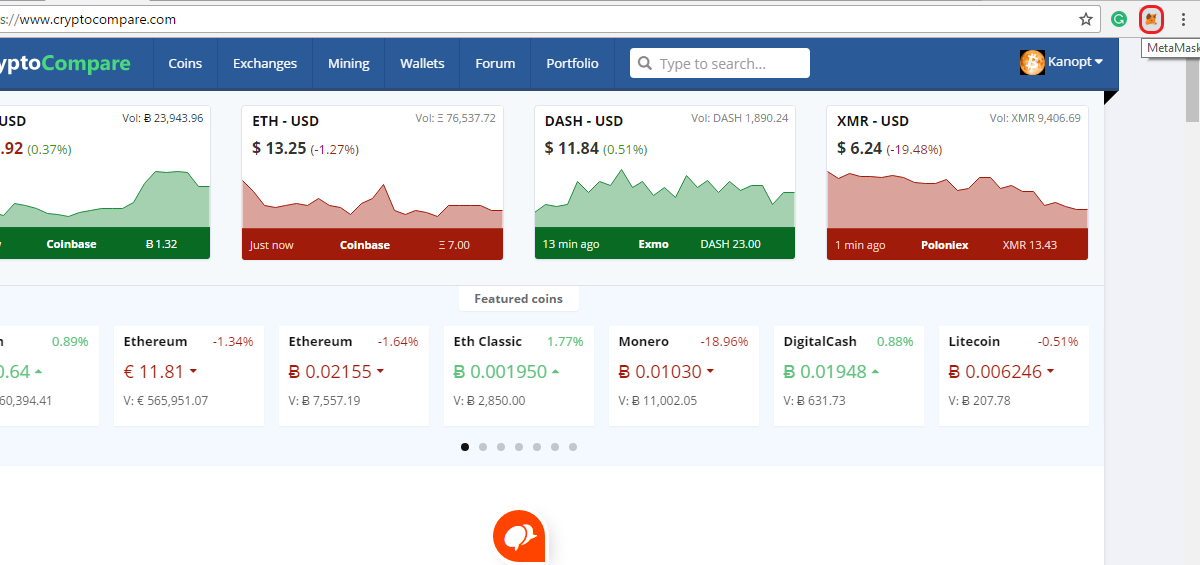
You can see that MetaMask is added by the little fox logo that shows up on the top right corner
Part 2 - Creating a new wallet
Step 1: Click the MetaMask logo
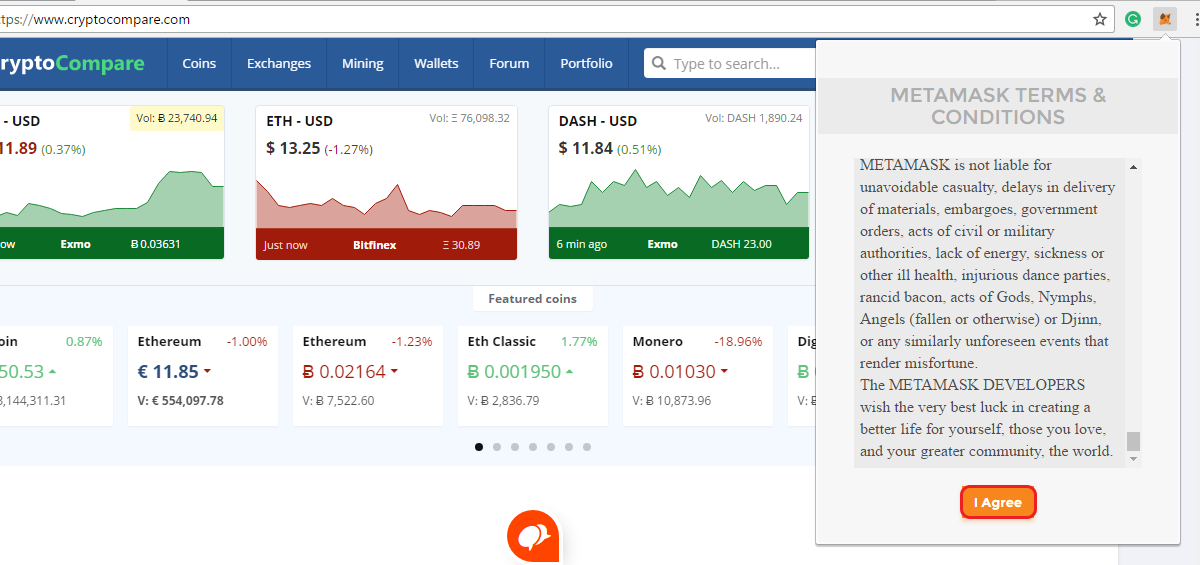
Step 2: Read and agree to the MetaMask terms and Conditions
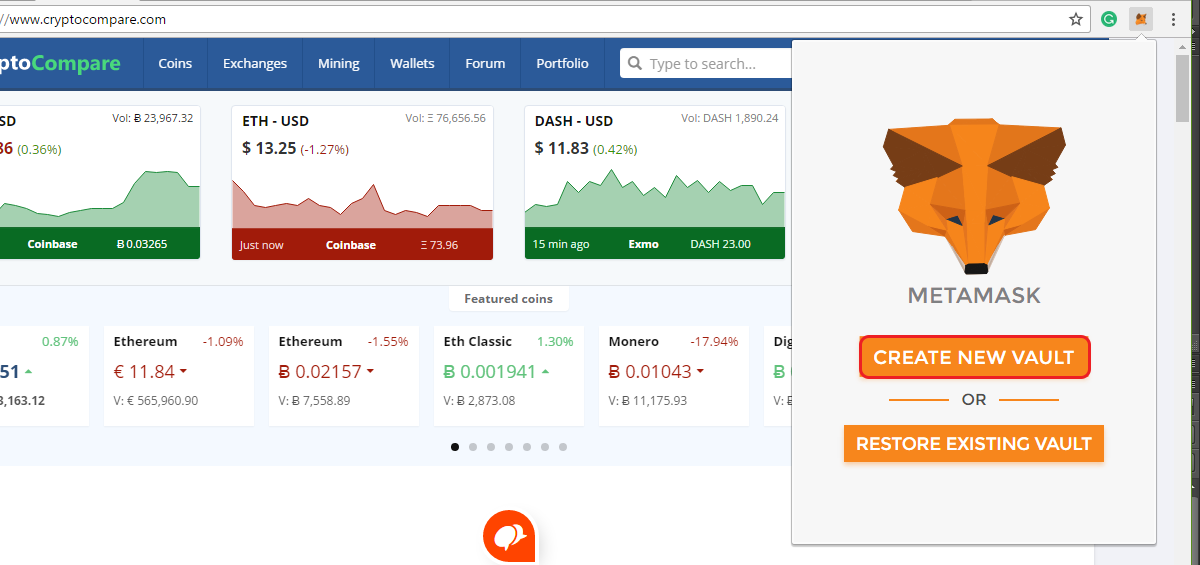
Step 3: Click "Create a new vault"
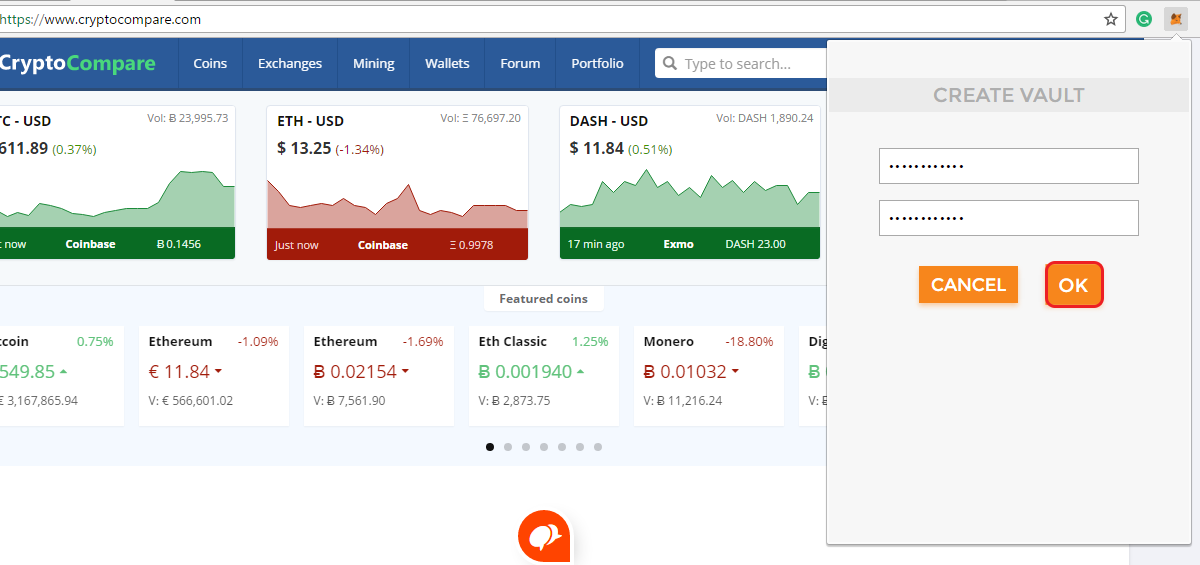
Step 4: Enter a strong password and click "OK"
Step 5: Metamask will now show you your seed. It is very important that you copy and store those 12 worlds, without them you cannot restore your wallet.
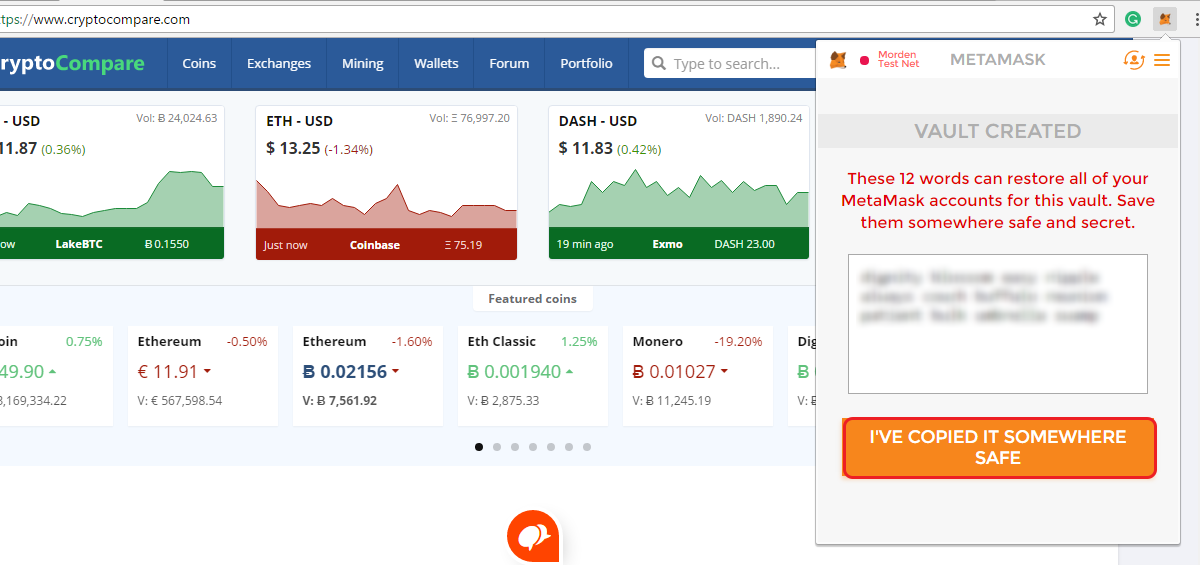
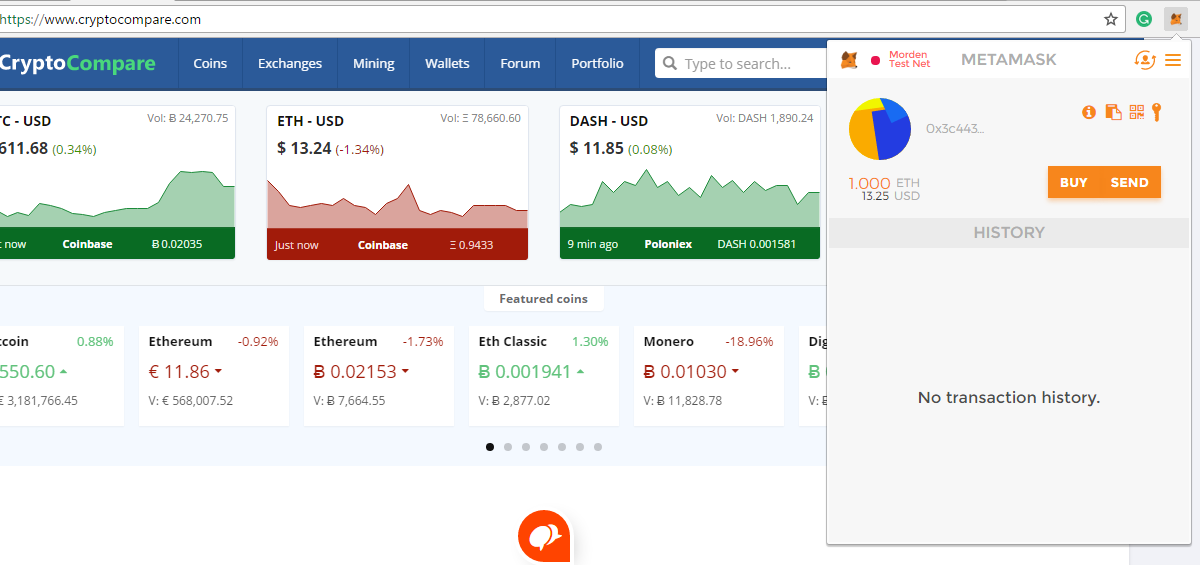
Your account is now created! It's possible that 1 Ether shows up on your balance. That's because you're on the testnet
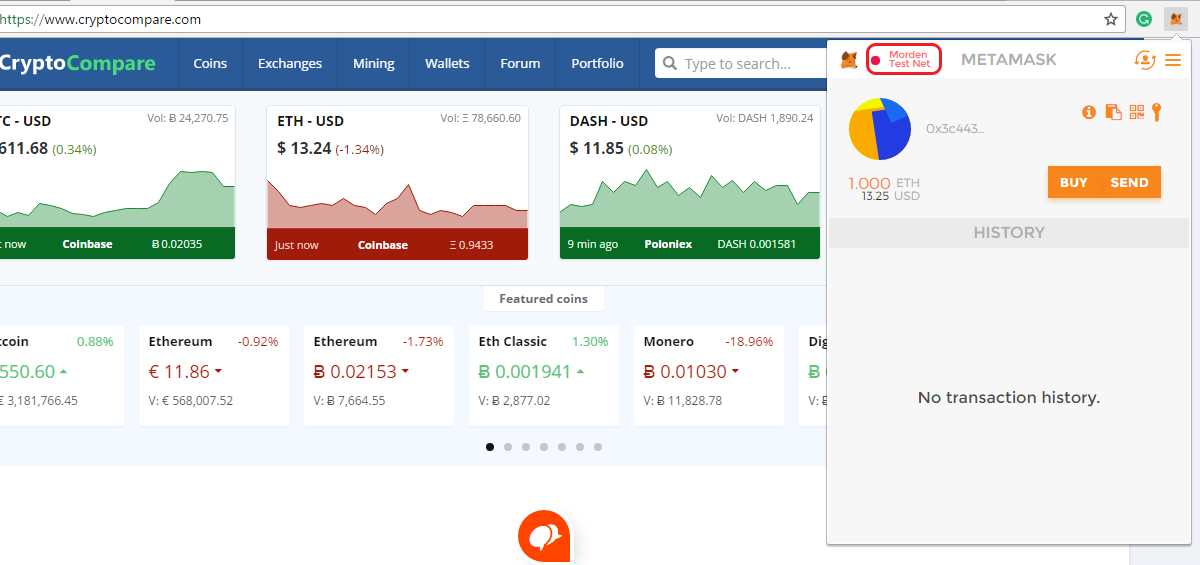
Part 3 - Changing to the Mainnet & Funding your account
Step 1: Click "Modern Testnet"
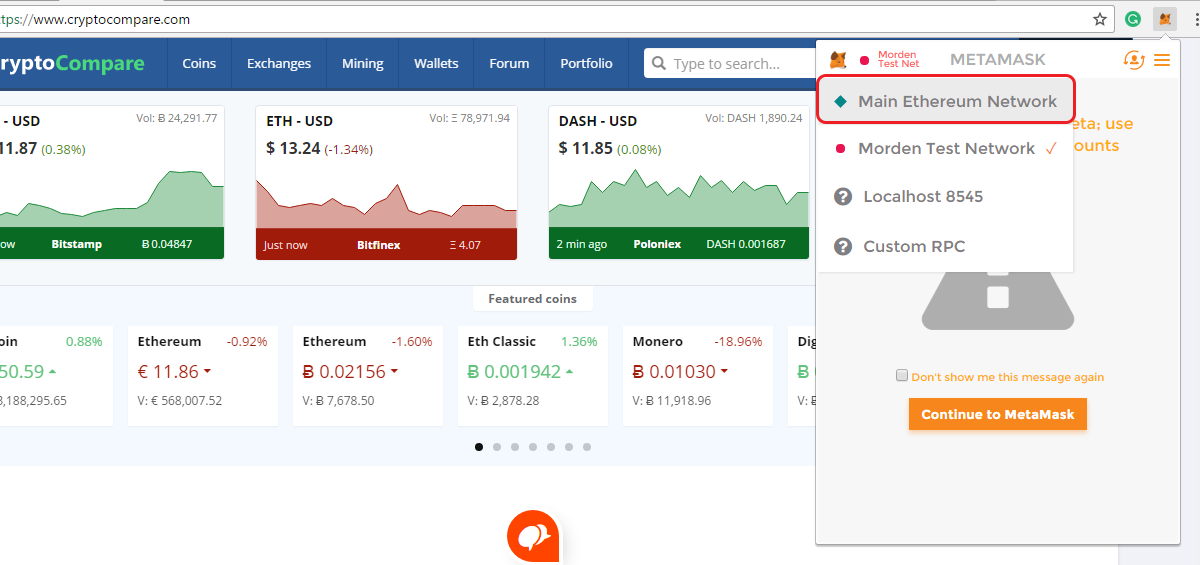
Step 2: Choose "Main Ethereum Network"
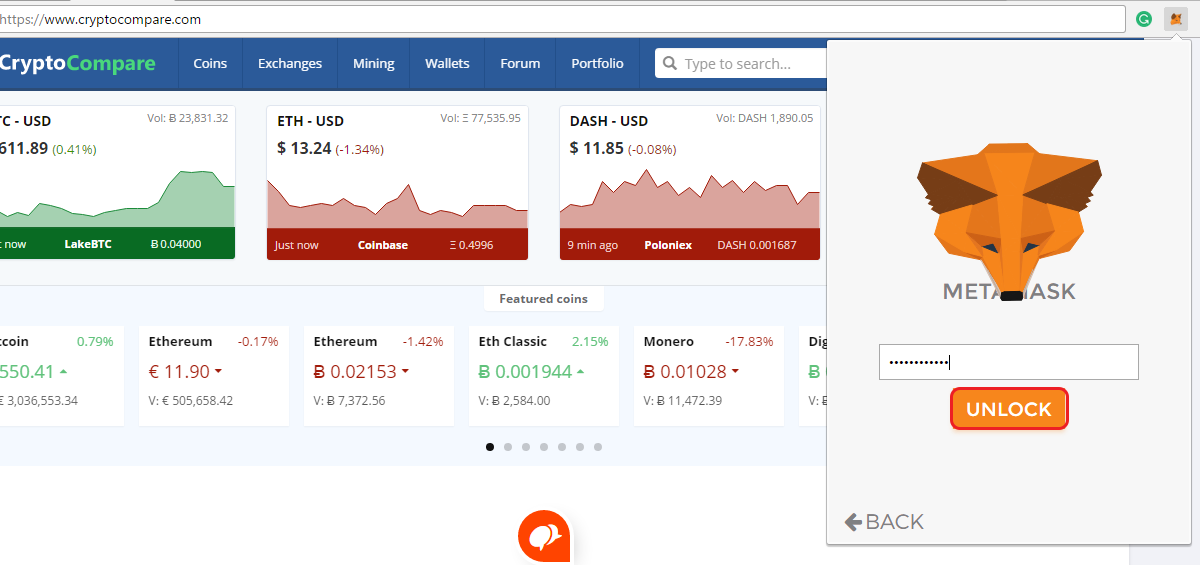
Step 3: MetaMask will now ask you for the password. Type it in and click "Unlock"
You'll notice that your Ether balanced has disappeared, which is a bummer, but now you're ready to fund your account for real.
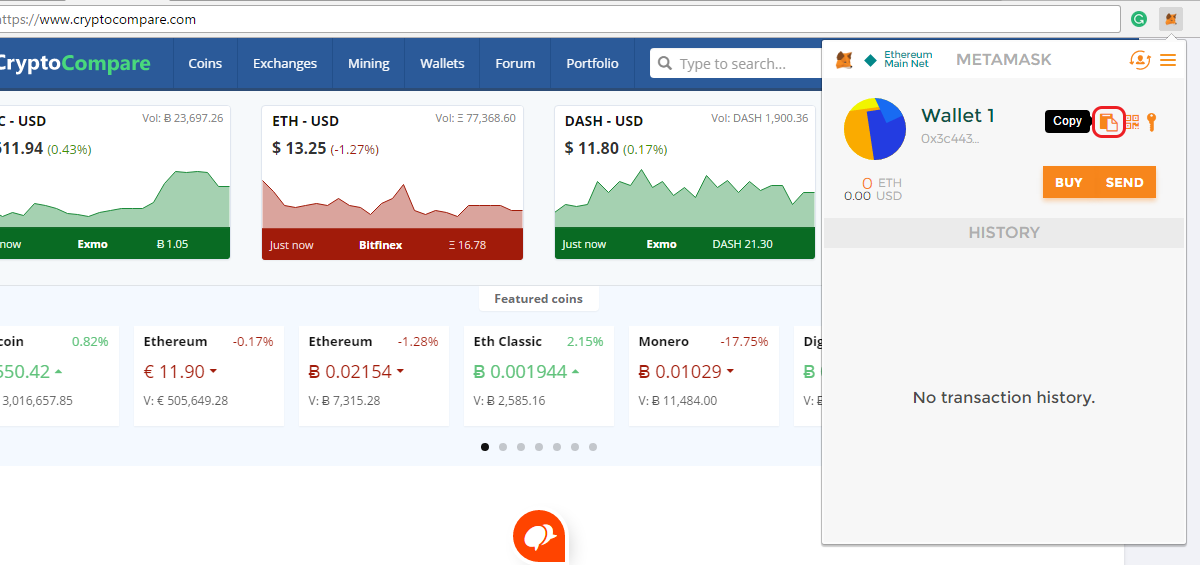
Step 4: Click the copy logo to get your wallet address. Then all you have to do send Ether to it from your favorite exchange or wallet.
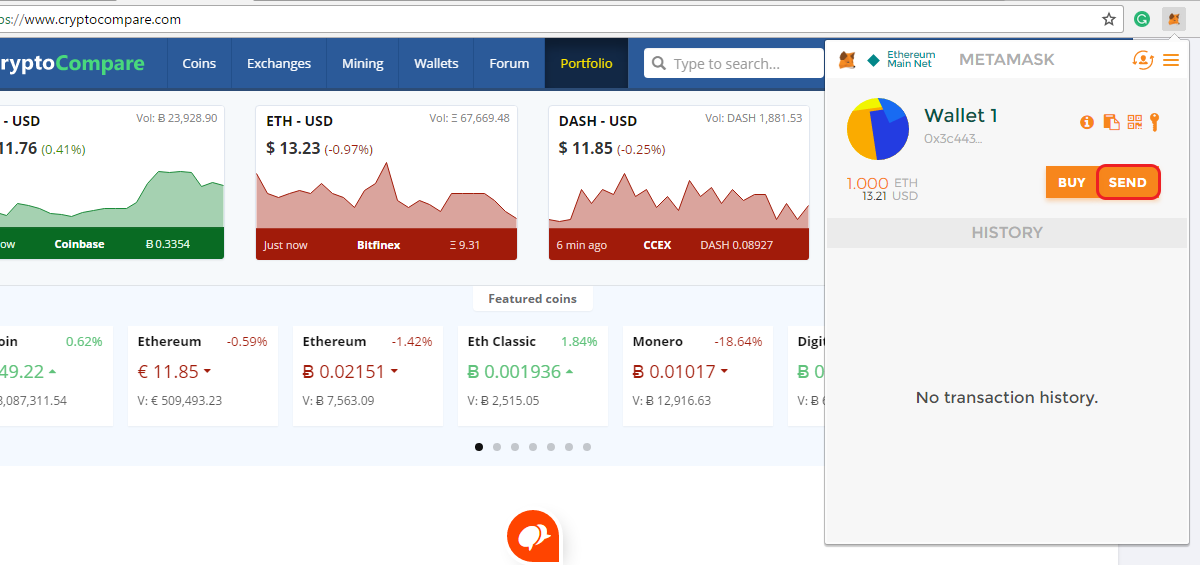
Part 5 - Sending Ether
Now that your MetaMask account is funded you can easily send Ether
Step 1: Click "Send"
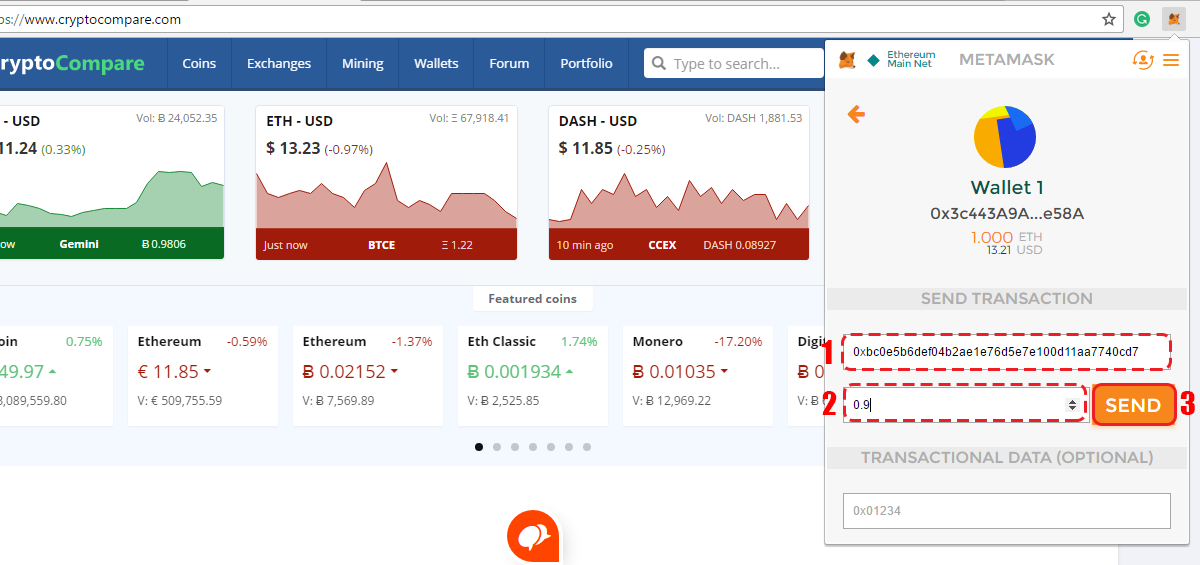
Step 2: Enter the wallet address to where you want to send Ether to (1), Enter the amount of Ether you want to send (2) and click "Send" (3)
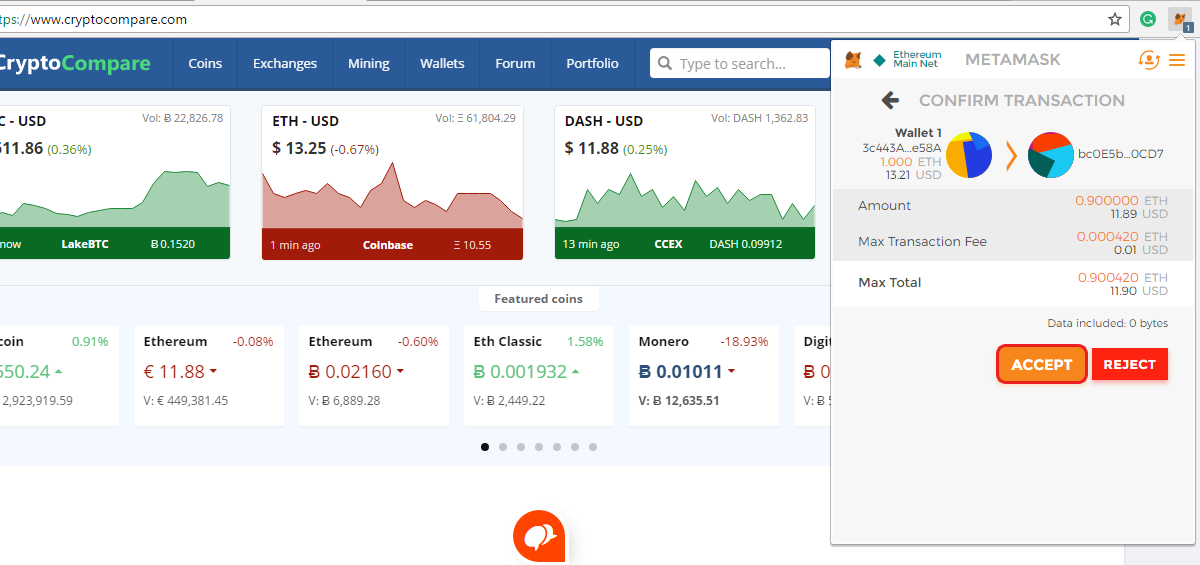
Step 3: Confim the transaction data and click "Accept"
 And that's it! You can now send and recieve Ether on your MetaMask wallet. Furthermore, you'll also be able to visit Ethereum Dapps thanks to this awesome extension.
Important information
This website is only provided for your general information and is not intended to be relied upon by you in making any investment decisions. You should always combine multiple sources of information and analysis before making an investment and seek independent expert financial advice.
Where we list or describe different products and services, we try to give you the information you need to help you compare them and choose the right product or service for you. We may also have tips and more information to help you compare providers.
Some providers pay us for advertisements or promotions on our website or in emails we may send you. Any commercial agreement we have in place with a provider does not affect how we describe them or their products and services. Sponsored companies are clearly labelled.


 Opera
Opera
 Internet Explorer