


Ledger Nano S is a Bitcoin, Ethereum and Altcoins hardware wallet, based on robust safety features for storing cryptographic assets and securing digital payments. It connects to any computer (USB) and embeds a secure OLED display to double-check and confirm each transaction with a single tap on its side buttons. With Ledger Nano S, secrets like private keys are never exposed: sensitive operations are isolated inside your hardware wallet within a state-of-the-art Secure Element, locked by a PIN code. Transactions can’t get tampered with, they are physically verified on the embedded screen with a simple press of a button.
Centralized services host your bitcoins. They solve the aforementioned security issue by assuming total responsibility for security. You give up direct control of your bitcoins in exchange for a third-party supplied security, just like you trust a bank for keeping your dollars or euros. It is a very convenient approach, but it needs an alternative for users who wish to retain full control of their assets as a hardware wallet like Ledger Nano S.
Ledger's hardware wallets are architectured around secure chips. This is the same technology that you find in chip and PIN payment cards or SIM cards. These chips bring guarantees against physical attacks and raise the level of security of your private keys. Today we are going to do a step-by-step about how to configure your ledger wallet and receive some funds.
Part 1: Configure the device for the first time
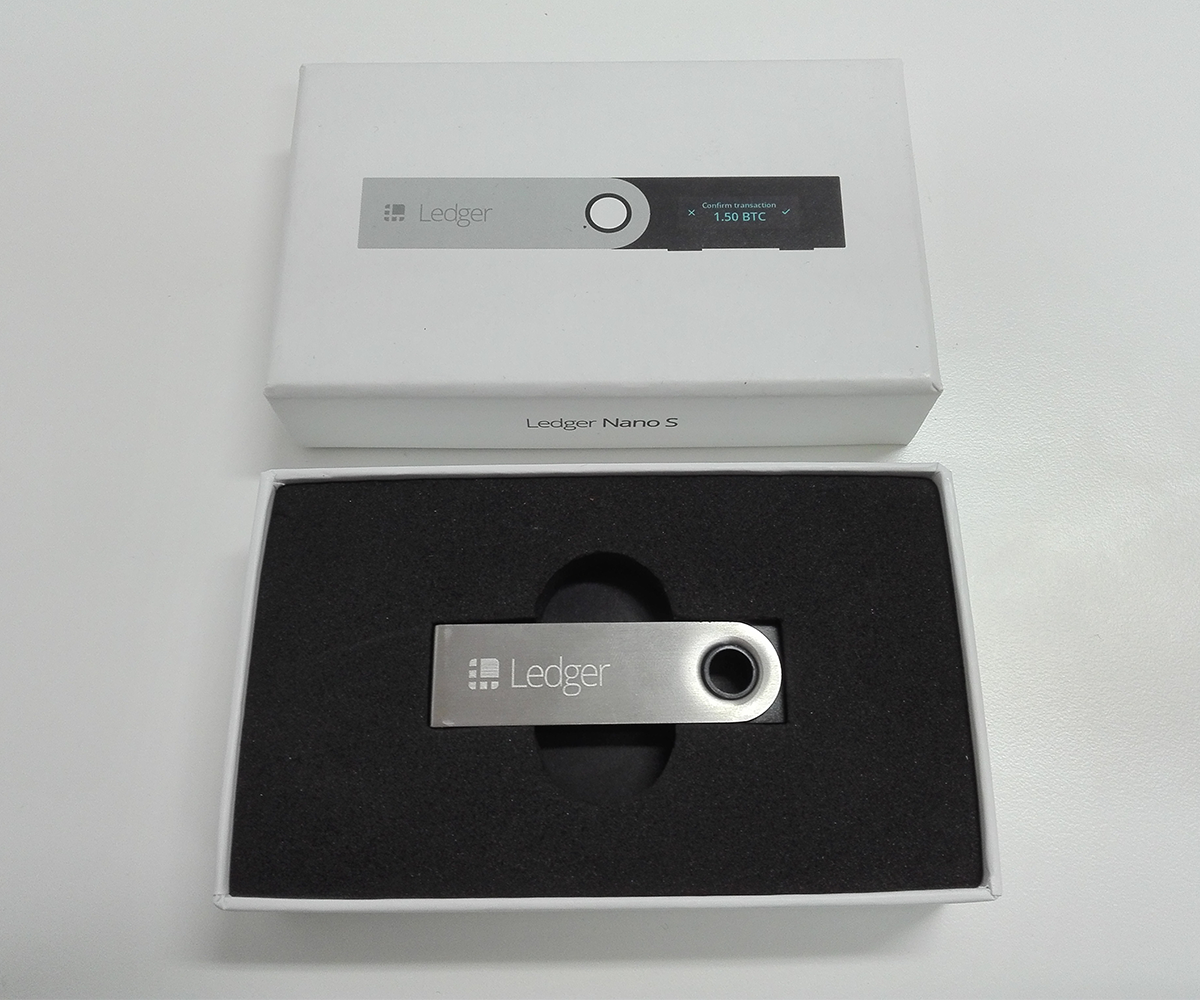
Step 1: Remove or Ledger from the box

Step 2: Connect your Ledger nano S to your computer by the USB cable, and follow the instructions on the embedded small screen. You can choose to create a new wallet or import a Bitcoin account or an Ethereum account. Select and validate with the two buttons above the display:
LEFT/RIGHT Button: Use left and right buttons to navigate through multiple-choice lists, change values or confirm decisions.
BOTH Buttons: Pressing both buttons at the same time means you wish to confirm/continue to the next screen or open an application.
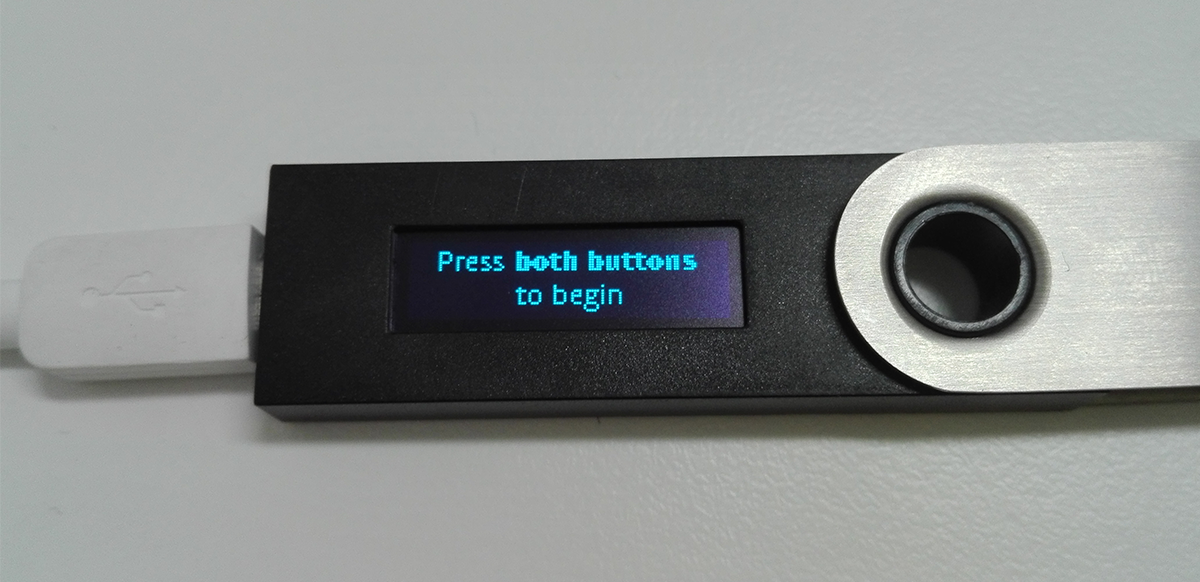
Step 3: Press both buttons to begin
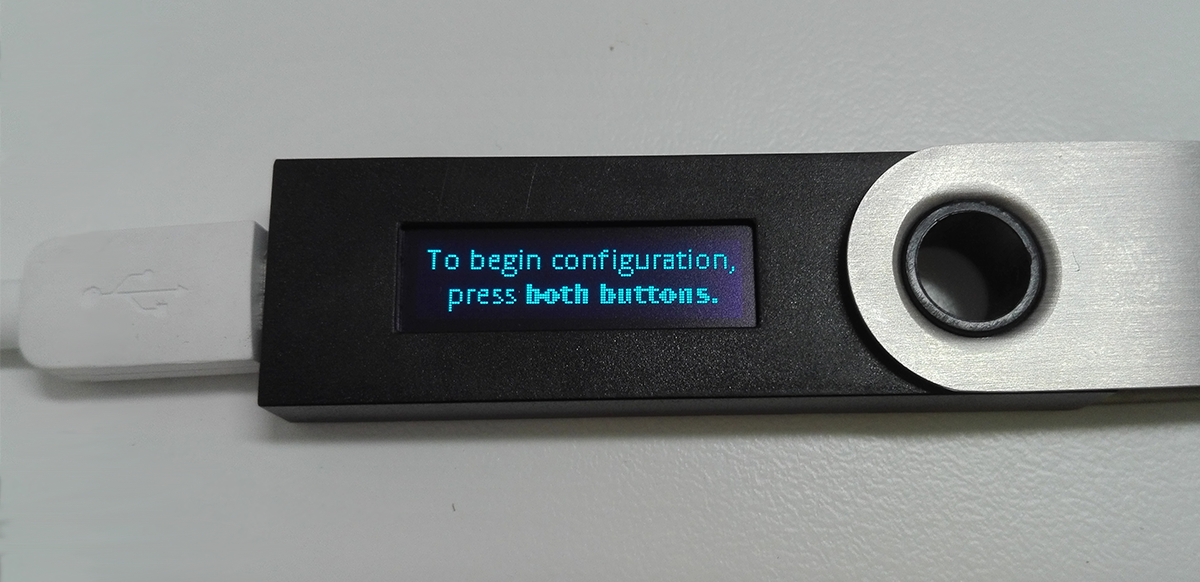
Step 4: And both buttons again to start the configuration
Step 5: To accept configuration as a new device press right button

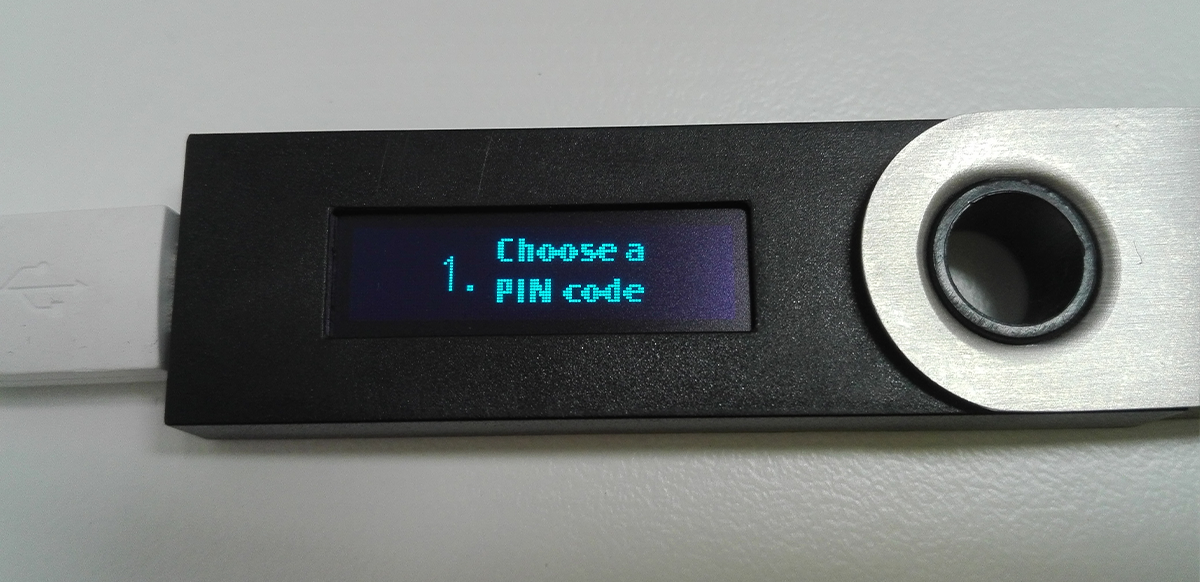
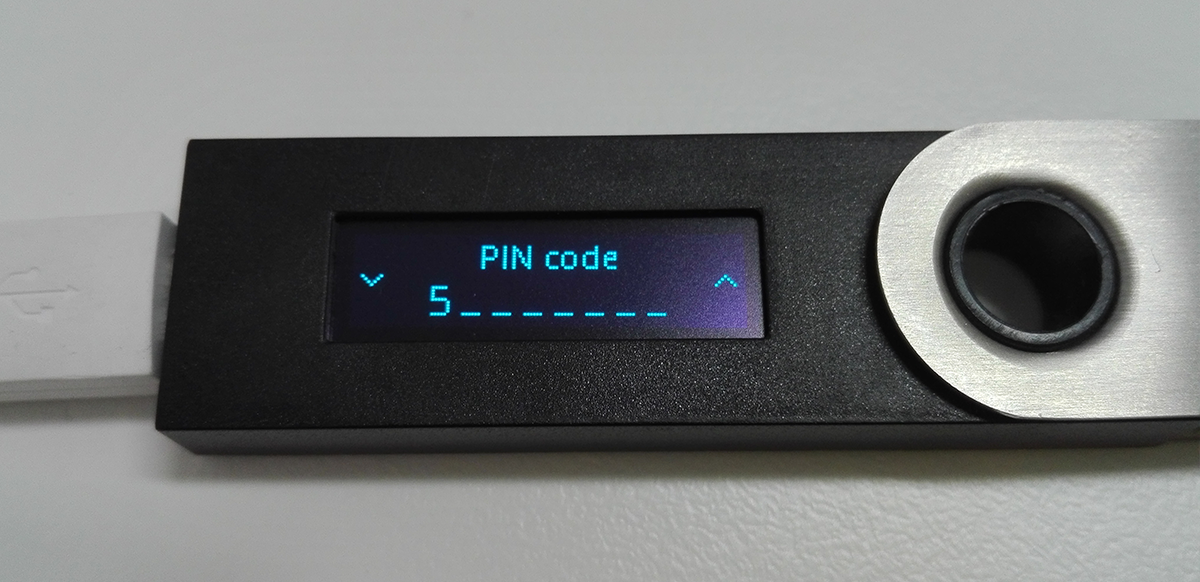
Step 6: Choose and memorize your four-digit PIN code that will be requested each time you connect your Nano S. Confirm this PIN code and be careful to remember it: 3 wrong successive PIN codes will reset your Nano S. Press both buttons to start
Step 7: Use left or right button to increase or diminish the number of your pin, and both to confirm
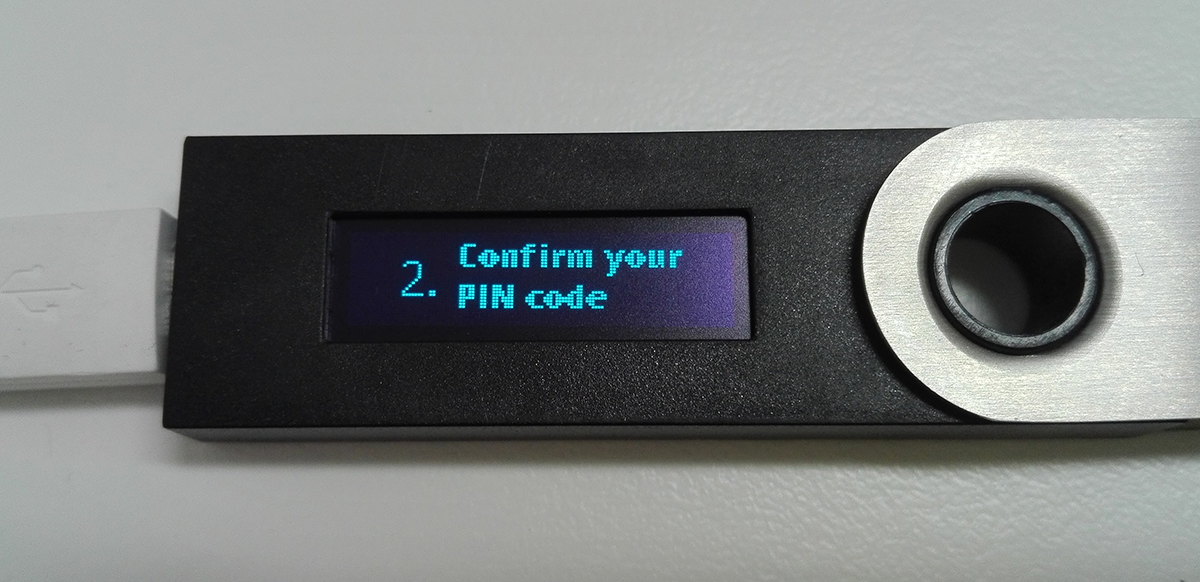
Step 8: Now you need to confirm your four-digit PIN, press both again to start
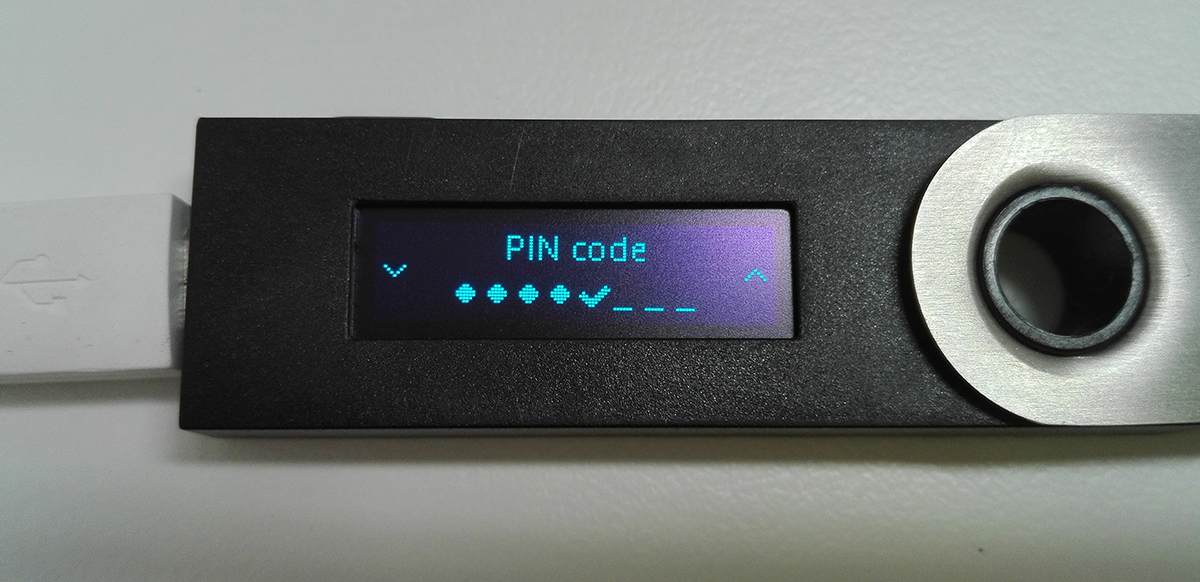
Step 9: And again use left or right button to increase or diminish the number of your pin, and both to confirm
Step 10: Now is time to write down our recovery phrase, this step is really important to guarantee you can recover anytime your wallet in case of loss or theft. You won’t be able to finish the configuration without confirming you copied the 24 words by selecting some of them as requested. Press both buttons to start

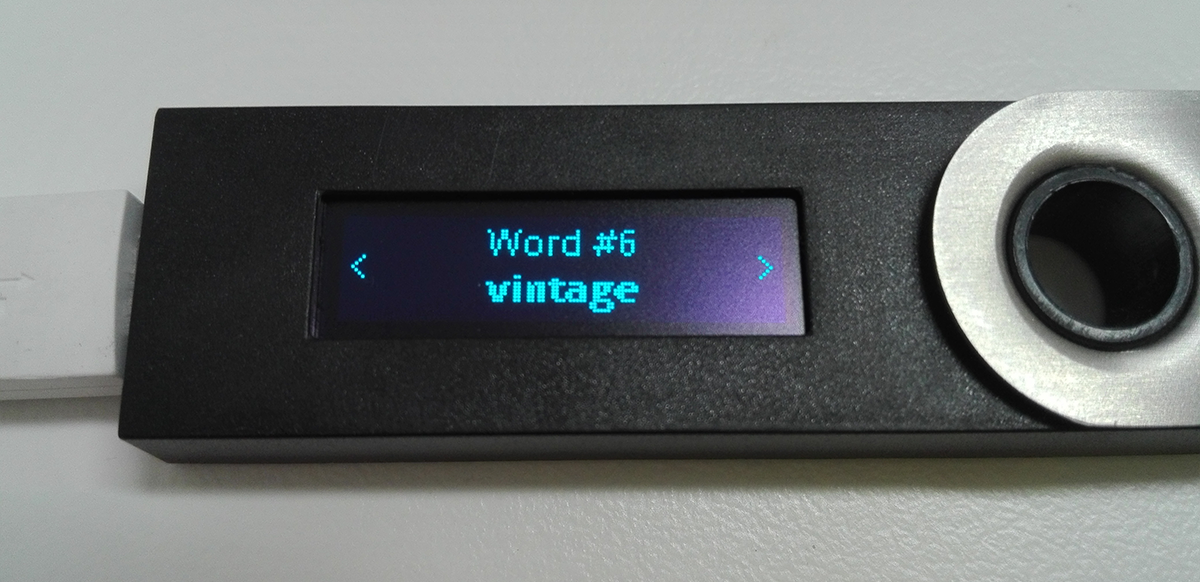
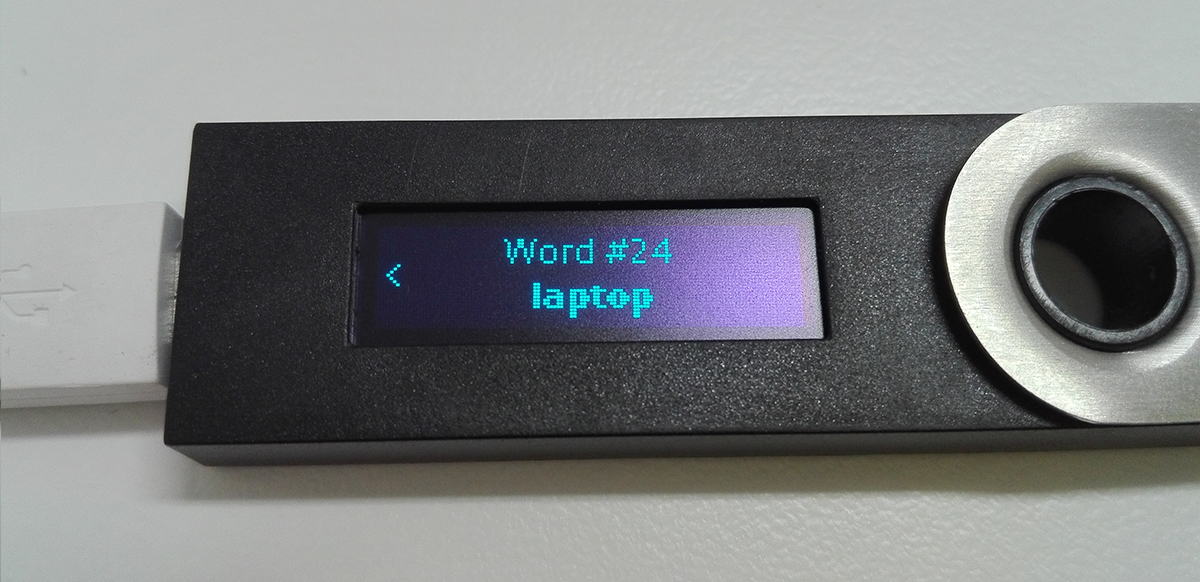
Step 11: Then use the left or right button to see all the 24 words. Keep your “Recovery sheet” in a safe place.
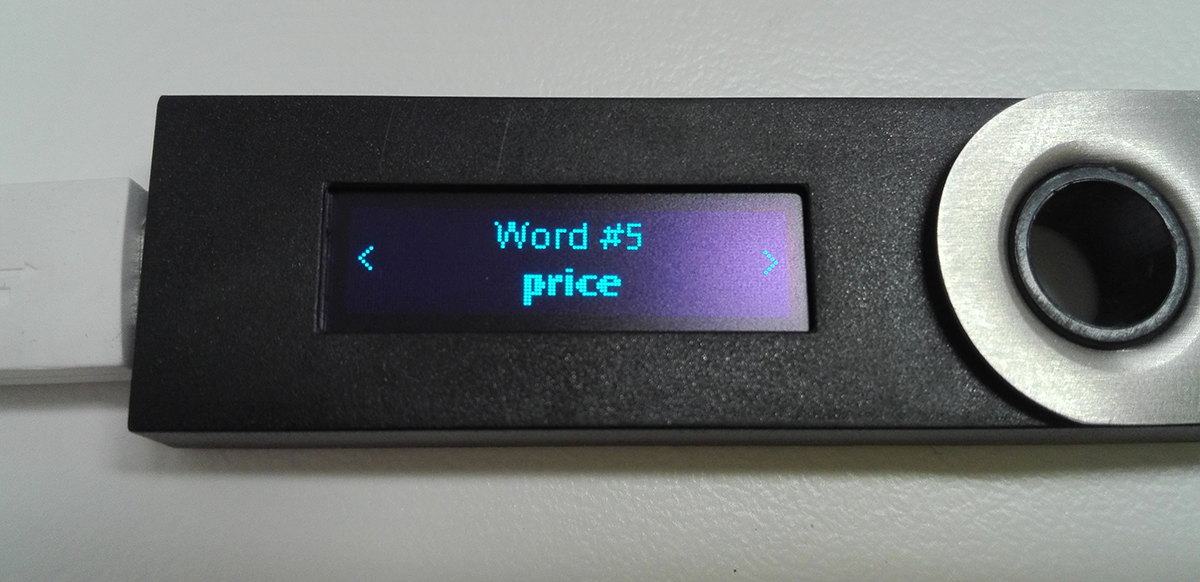
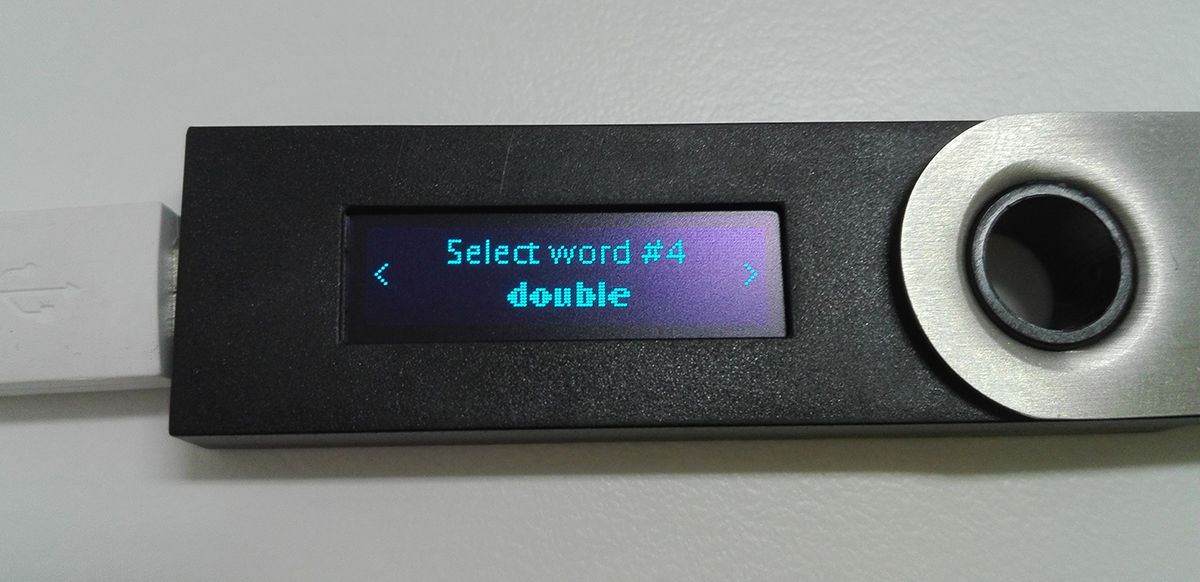
Step 12: Once you finish press both buttons and you will need to confirm some words, use the buttons to change the word to the correspondent one and press both buttons to confirm
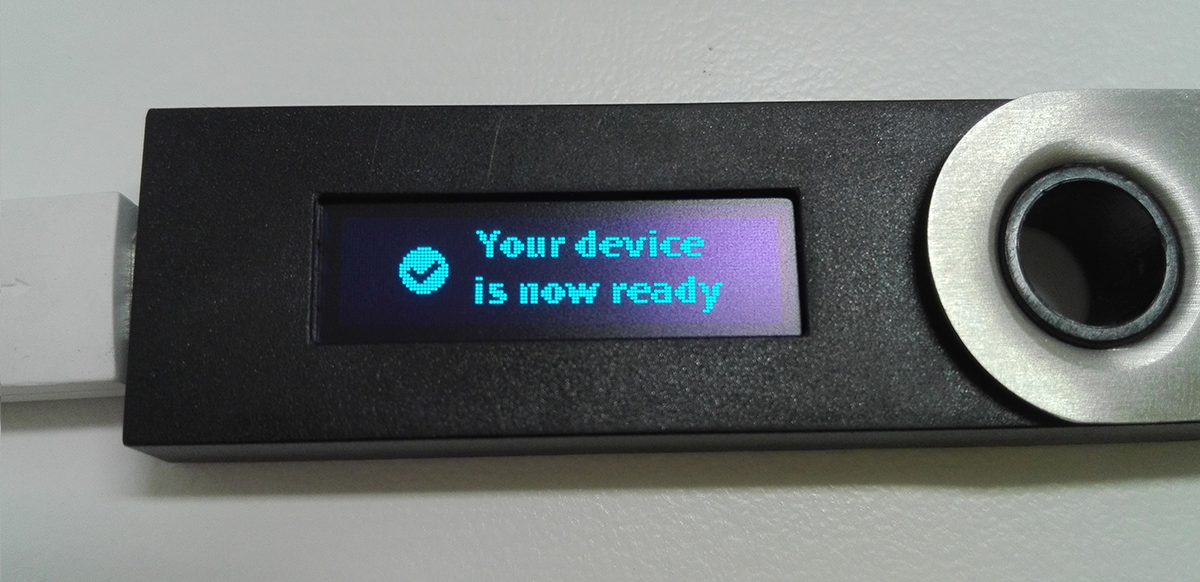
Step 13: Once you’ve seen the mention: “Your device is now ready”, your Nano S is configured
Part 2: Install the Ledger Apps on your computer to use your wallet
The wallet interfaces with the computer through a Chrome application which you will need to install on your computer. No additional software installation or account creation is needed.
You have to install the Ledger Apps, in your Chrome or Chromium 50+ browser, download for free the Ledger Wallet Bitcoin Chrome app or the Ledger Wallet Ethereum Chrome app.
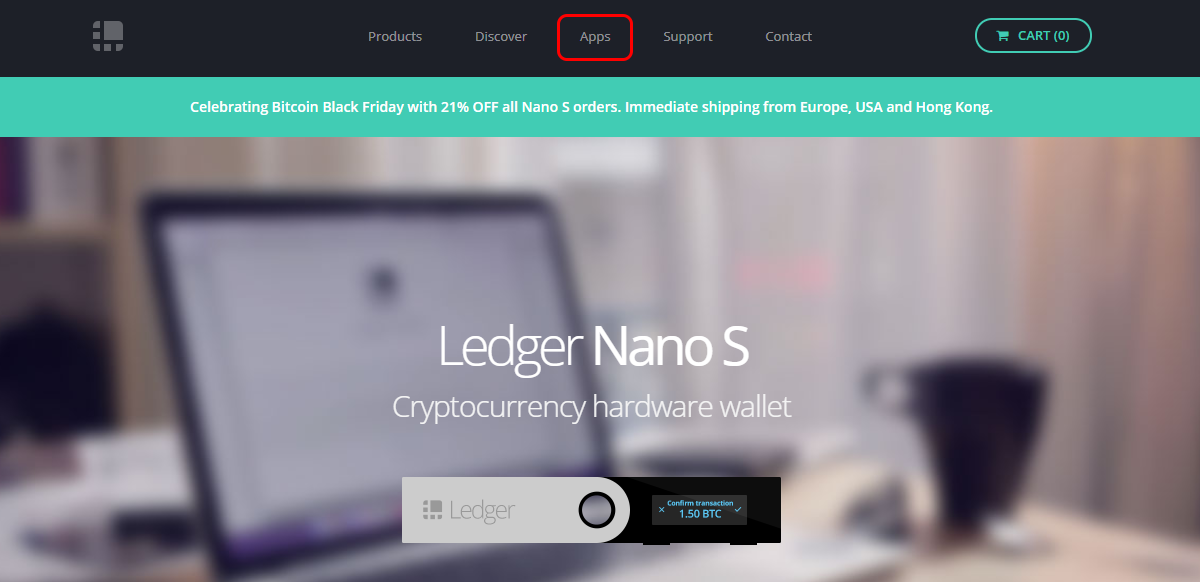
Step 1: Go to Ledger website (or click here), and on the header click on the “Apps” tab
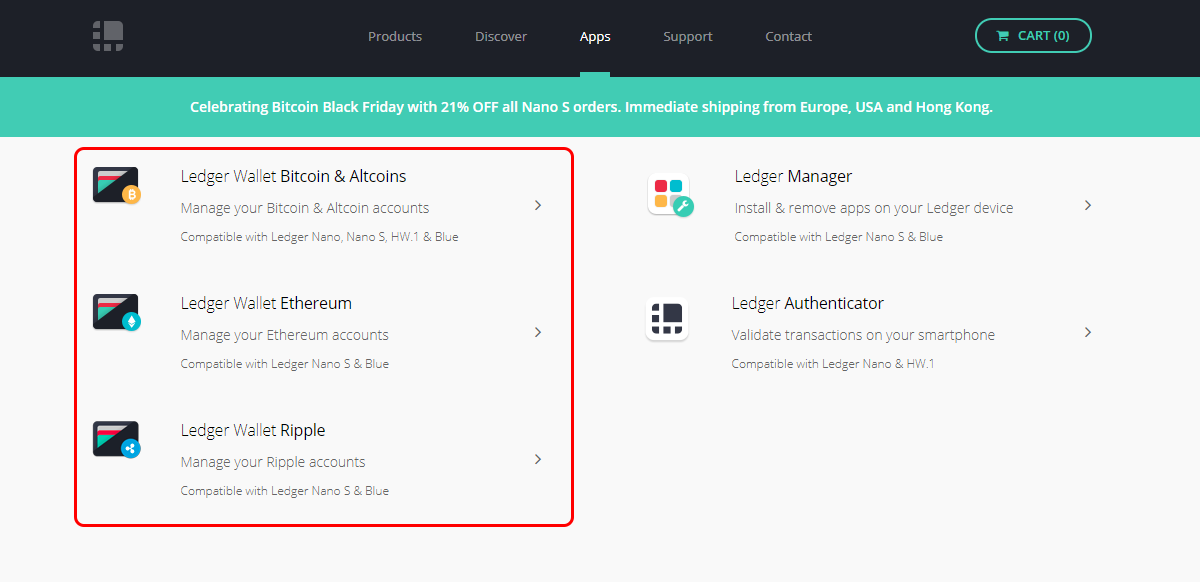
Step 2: Then scroll down until you see the wallets apps, there choose the currency you want to install and click on it
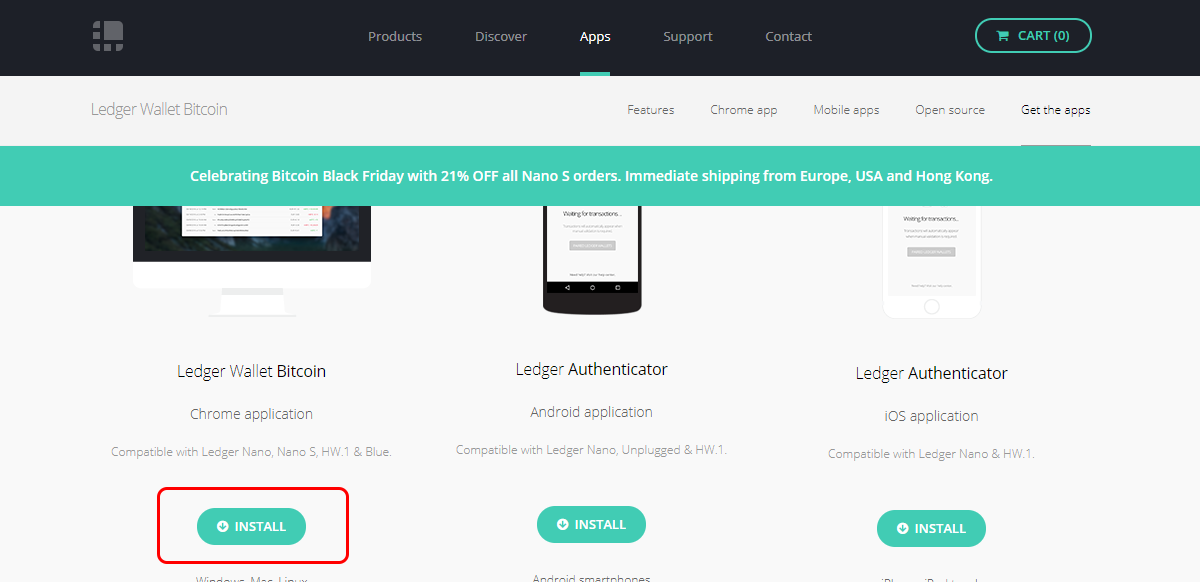
Step 3: Now scroll down again until you see the “install” buttons, there choose the “Ledger Wallet” Chrome application
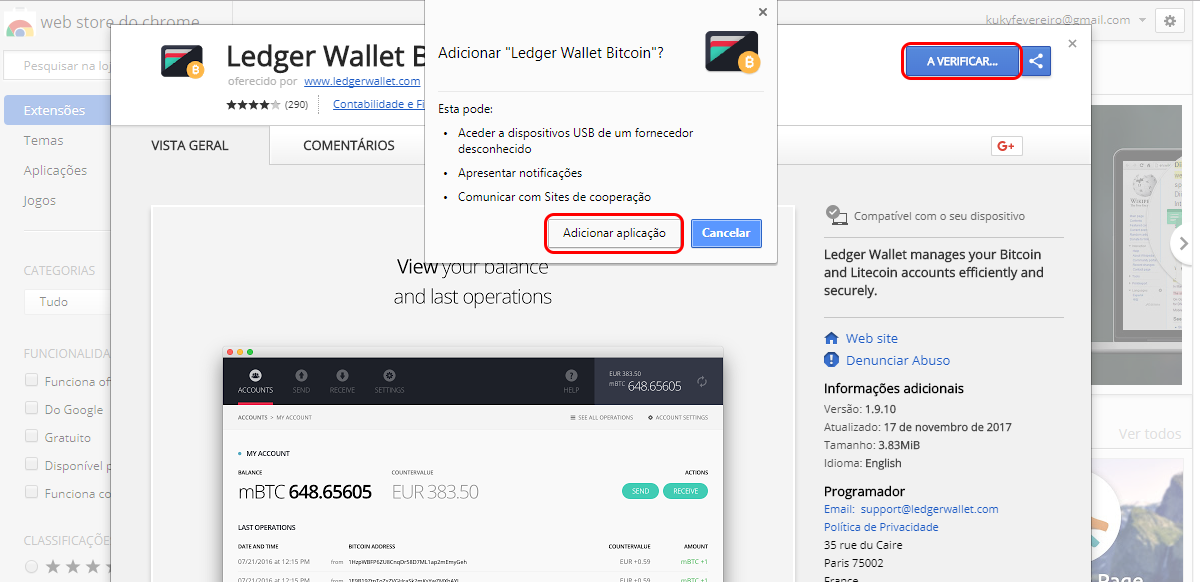
Step 4: On the upper right corner click “install” and “Add app”
That's it, to enter on your wallet just go to your chrome apps or type chrome://apps/ on your browser and click on “Ledger Wallet”
Part 3: Use the wallet
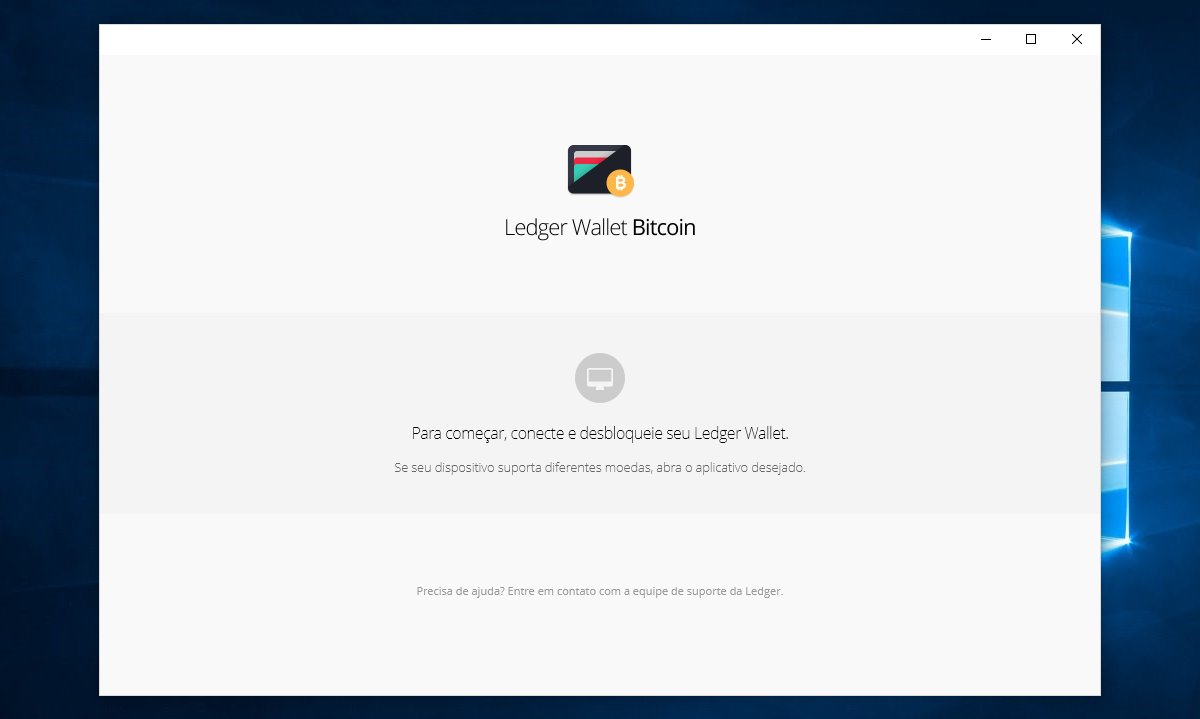
Step 1: Once you open the chrome app it will ask you to plug in your Ledger wallet, do it, enter your pin on the wallet, click both buttons to confirm the pin and both buttons again to enter on the BTC wallet (to use other wallet enter on the correspondent on your device)
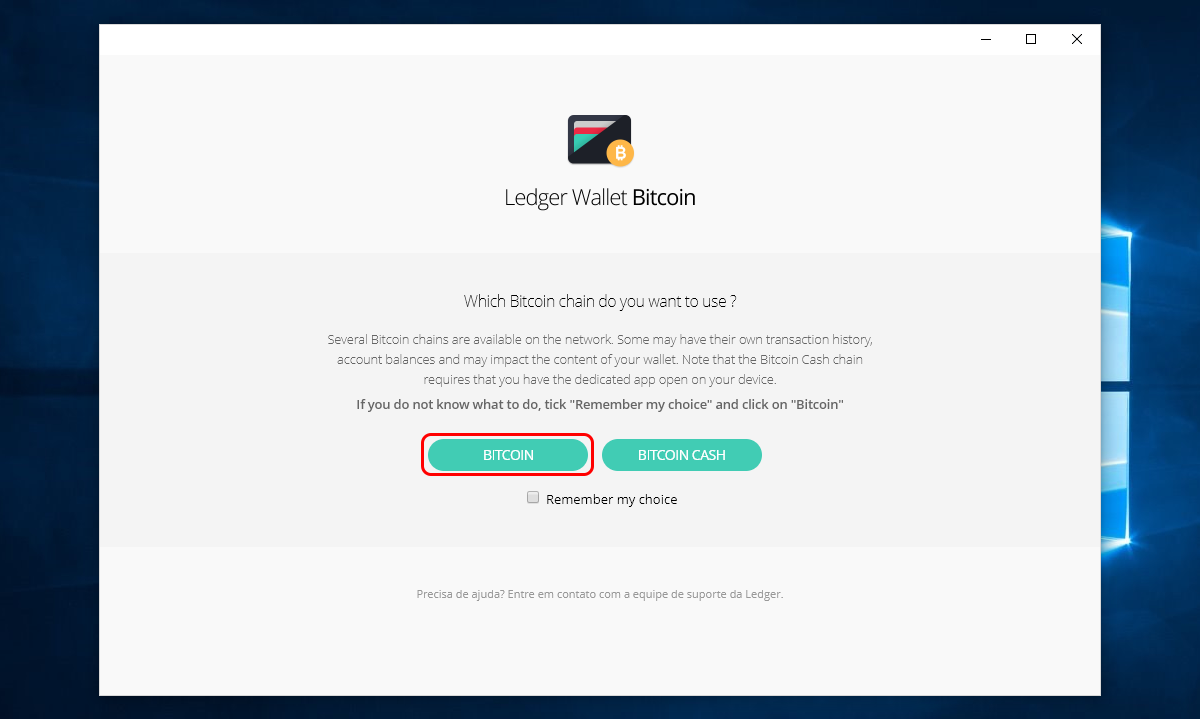
Step 2: Choose BTC or BCH wallet clicking on the correspondent on, for this guide we are going to use the BTC one
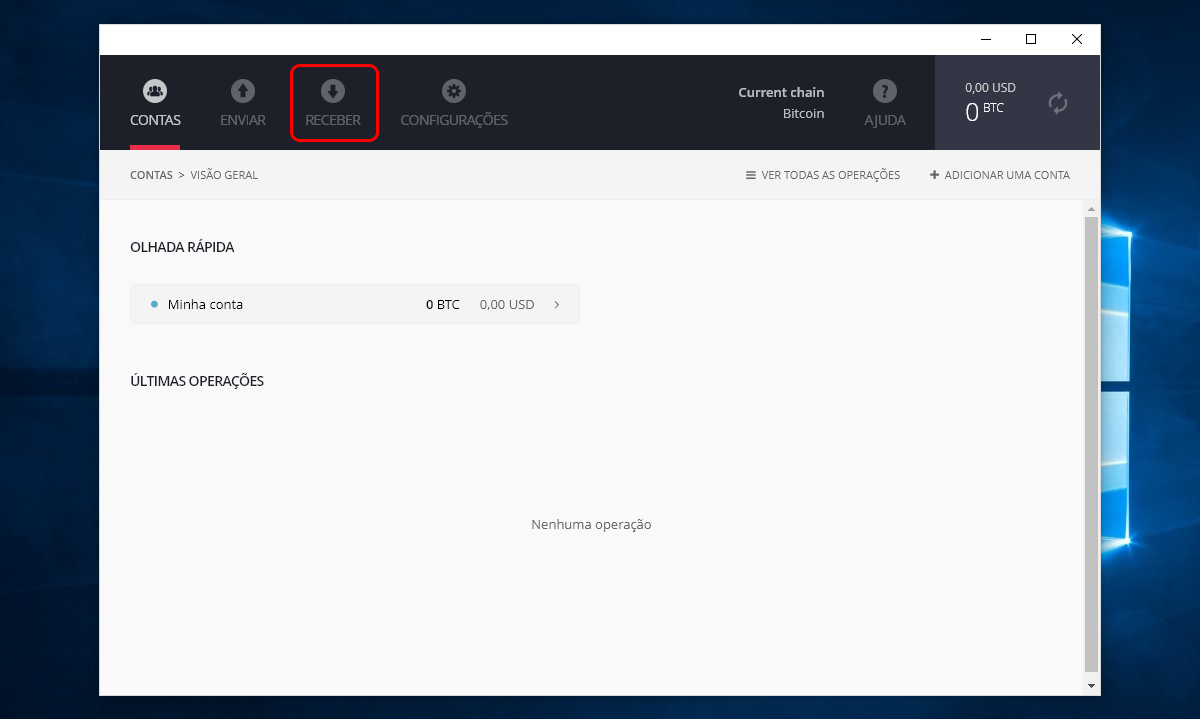
Step 3: Now you are in your wallet, as you can see is a user-friendly wallet, you can use your address to receive funds, in the header click on “receive” tab
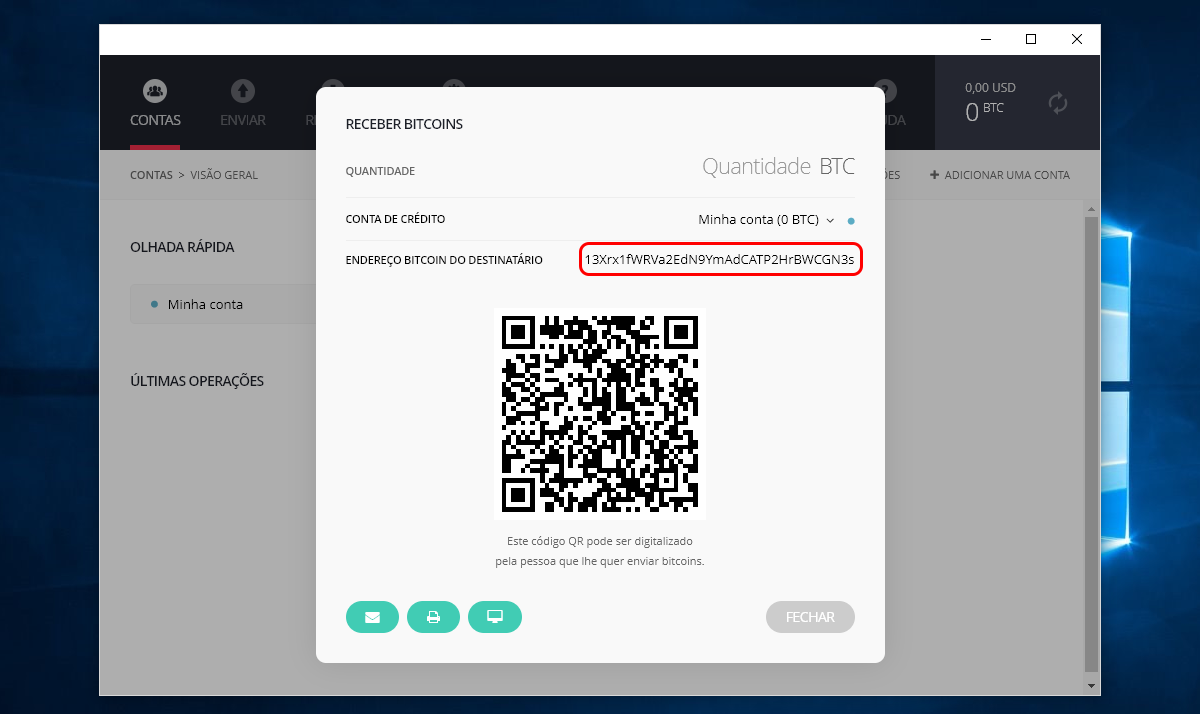
Step 4: There you have your address to receive coins
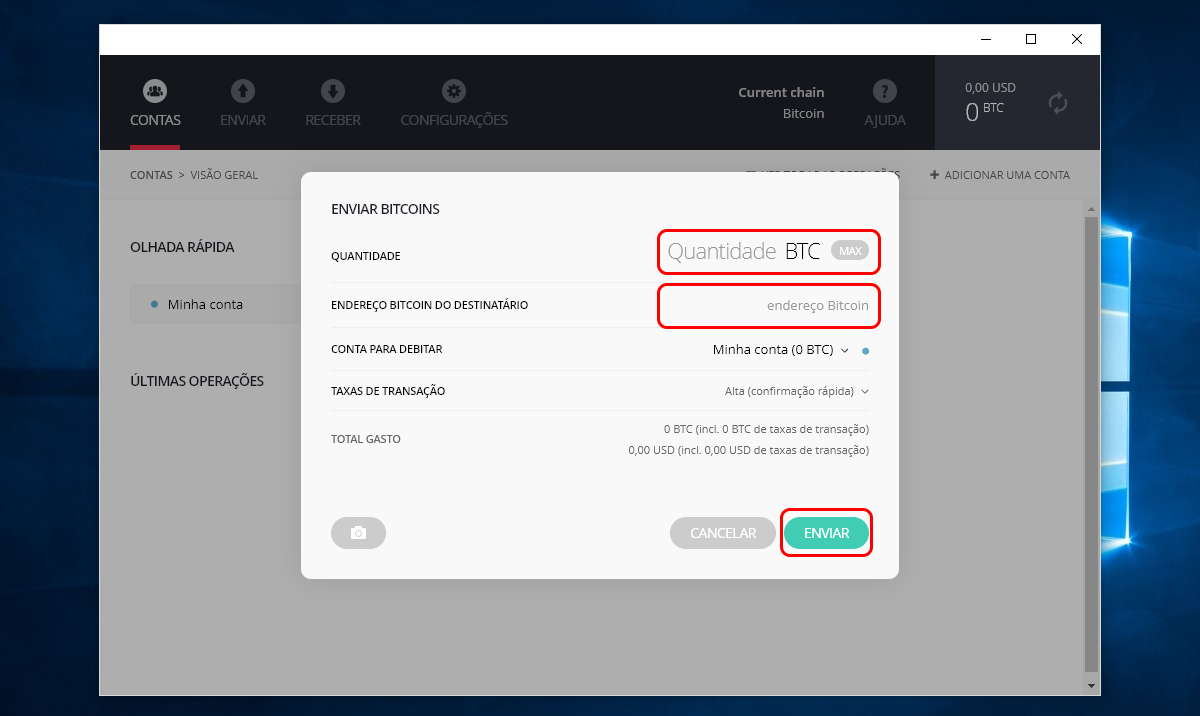
Step 5: Return to your wallet home, and click on “Send” tab to send funds, there you just need to write the amount and the address for where you want to send the funds, then click “Send” (you can also choose different wallets if you have more than one and the tx transaction)
This guide was the first steps of how to use the Ledger wallet, you can see more guides from the official Ledger page clicking here.
Important information
This website is only provided for your general information and is not intended to be relied upon by you in making any investment decisions. You should always combine multiple sources of information and analysis before making an investment and seek independent expert financial advice.
Where we list or describe different products and services, we try to give you the information you need to help you compare them and choose the right product or service for you. We may also have tips and more information to help you compare providers.
Some providers pay us for advertisements or promotions on our website or in emails we may send you. Any commercial agreement we have in place with a provider does not affect how we describe them or their products and services. Sponsored companies are clearly labelled.


 Opera
Opera
 Internet Explorer